
THE JOURNAL · WINDOW CONDENSATION
How to Manage Window Condensation Before Mould Returns
Water on the inside of a window is easy to notice and easy to misunderstand. It may appear only in the morning, collect behind a curtain or run down onto the sill while the rest of the room looks dry. Managing it starts with finding out when the moisture appears and which surfaces stay wet. A clear record is more useful than repeatedly wiping the glass and assuming the problem has been solved.
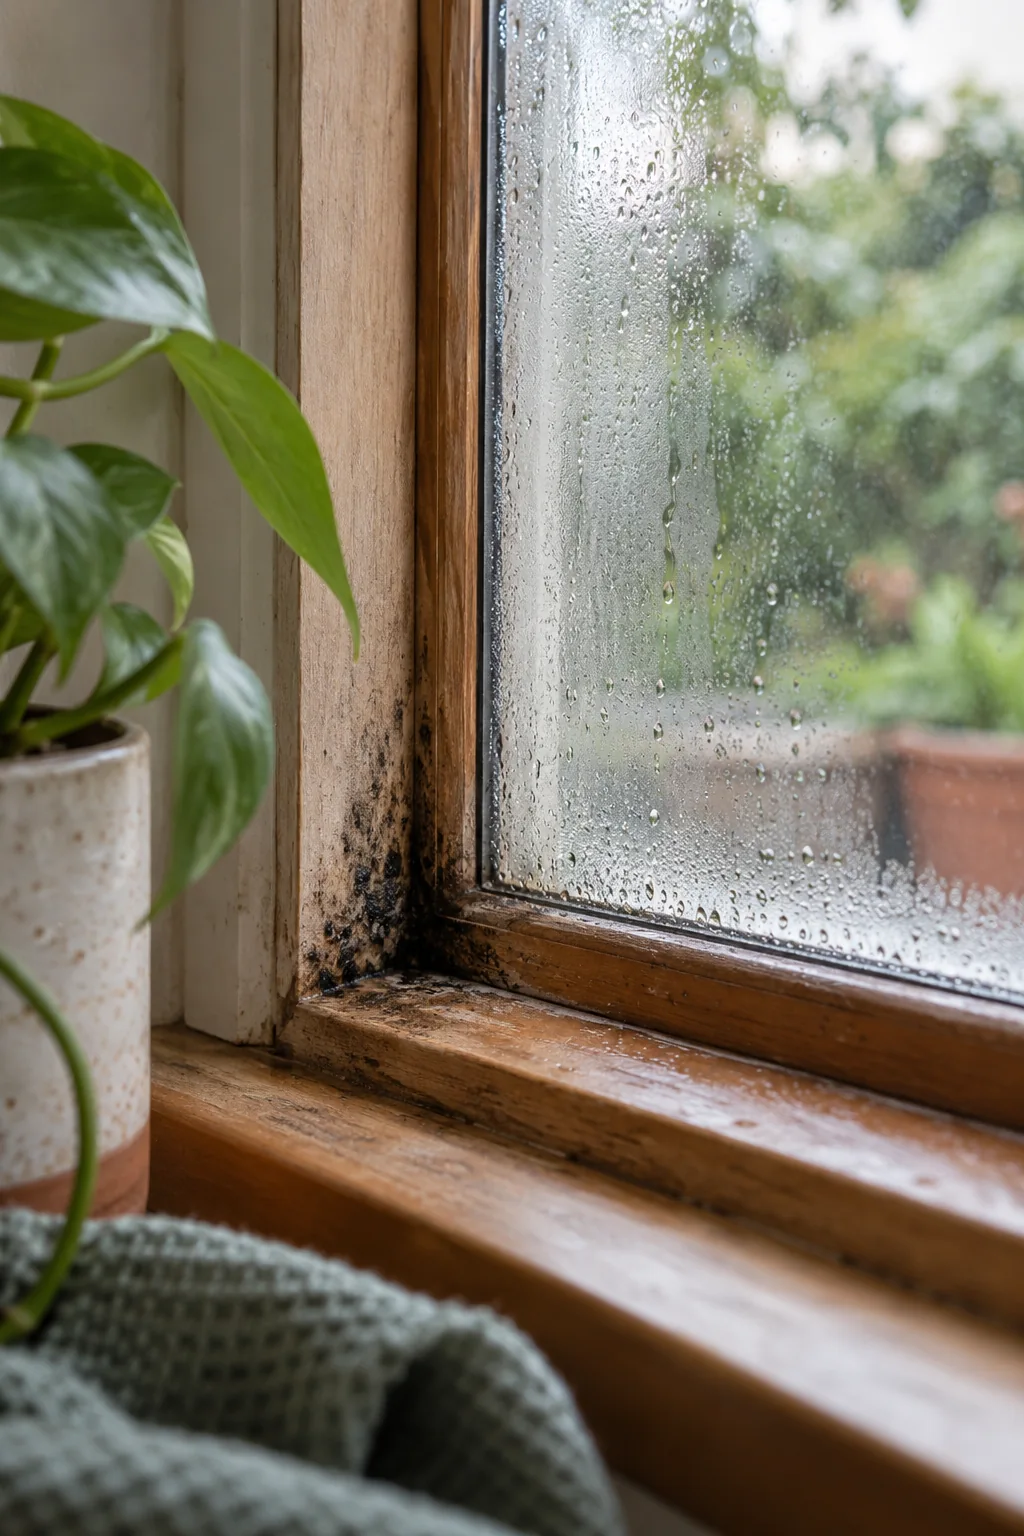
This guide focuses on observations and ordinary household adjustments. It does not replace an assessment of leaking frames, damaged walls or the building envelope. Keep clear of unstable windows and electrical fittings affected by water. If there is extensive mould, recurring deterioration or uncertainty about concealed damage, organise professional help. Do not remove window trim, drill into a frame or seal ventilation openings as an experiment.
Establish where the water is coming from
Check which side of the glass is wet. Moisture on the room side suggests a different investigation from water entering around a frame during rain. Condensation between panes of a sealed glazing unit is another situation again. Describe the position accurately rather than using “the window leaks” for every type of water. The time it appears, the weather and the location of droplets provide useful context for the person assessing it.
Use a dry cloth on a small accessible section to confirm the surface you are observing. Do not climb onto furniture to reach a high window. Look at the surrounding paint, sill and nearby wall without scraping or pressing on fragile material. Staining below a corner, a damp curtain edge and a swollen timber sill can show where water is accumulating. These signs do not by themselves establish whether the source is indoor humidity or external entry.
Make one entry in a notebook for each affected window. Include room, date, approximate time, rainfall and recent activities such as showering or indoor clothes drying. Take a wider photograph that shows the room arrangement as well as a close view of the droplets. A photograph of a wet sill alone can leave out the heavy curtain, nearby drying rack or damaged frame that matters to the assessment.
Understand the relationship between air and a cold surface
The Australian Government’s YourHome condensation guide explains why moisture can collect when humid air meets sufficiently cold building surfaces. The glass is often the visible place you notice it first. That does not mean the window is the only surface affected. A shaded wall corner or a space behind furniture can be cooler than the open part of a room.
Use that idea to organise observations, rather than trying to calculate a diagnosis from one photograph. Notice whether the affected window is in a bedroom, a bathroom or a room where laundry dries. Compare a window behind a closed blind with another that has more air movement. Keep comparisons within their limits: orientation, glazing, heating and room use can differ. Similar droplets do not prove that both windows have the same underlying problem.
A warmer room can still contain plenty of moisture. Heating may change the way a relative humidity reading looks without removing water from the building. Equally, opening a window for a moment may clear the glass while a wet sill remains damp. The aim is to improve moisture removal and surface drying, while investigating defects where needed. Avoid relying on one action as proof that the entire room is now dry.
Record a short morning and evening routine
For several days, check affected windows at roughly the same times. Record whether the glass is misted, whether there are droplets and whether water has reached the sill. Note room use and the operation of extraction in nearby wet rooms. Keep the record brief enough to maintain. “Bedroom, morning, curtain closed, droplets at lower edge” is more helpful than an elaborate spreadsheet that nobody updates.
If you have a household hygrometer, place it away from direct sun, a heater, a wet sill and the immediate stream of an open window. Record the room temperature with relative humidity if the device provides both. Treat the result as a trend from that location, not a measurement of moisture inside the wall. Moving the instrument between very different conditions and comparing instant readings can make the pattern harder to understand.
Our guide to keeping a useful humidity and moisture log explains how to make those notes practical. Share the log if the problem persists. A professional can use the history alongside inspection, rather than being asked to explain a window that happens to be dry during the appointment. Do not delay a repair enquiry when water is actively entering just to complete a week of observations.
Remove accumulated water without damaging finishes
Wipe accessible condensation from glass and a sound sill using a suitable clean cloth, then allow the area to dry. Follow the care instructions for timber, painted finishes, coated glass and hardware. Avoid pushing water into joints or leaving a saturated cloth on the sill. Protect the floor from drips and check that curtains are not resting in pooled water. This is moisture management, not an investigation behind the frame.
Do not block drainage holes or apply sealant across unidentified openings. Window systems can have drainage and ventilation features that are not obvious from inside. If you suspect a defect, ask the manufacturer or an appropriate repair professional before altering the frame. Similarly, avoid covering deteriorated paint with tape or a decorative liner to hide the wet area. You need to see whether drying and any repair have changed the condition.
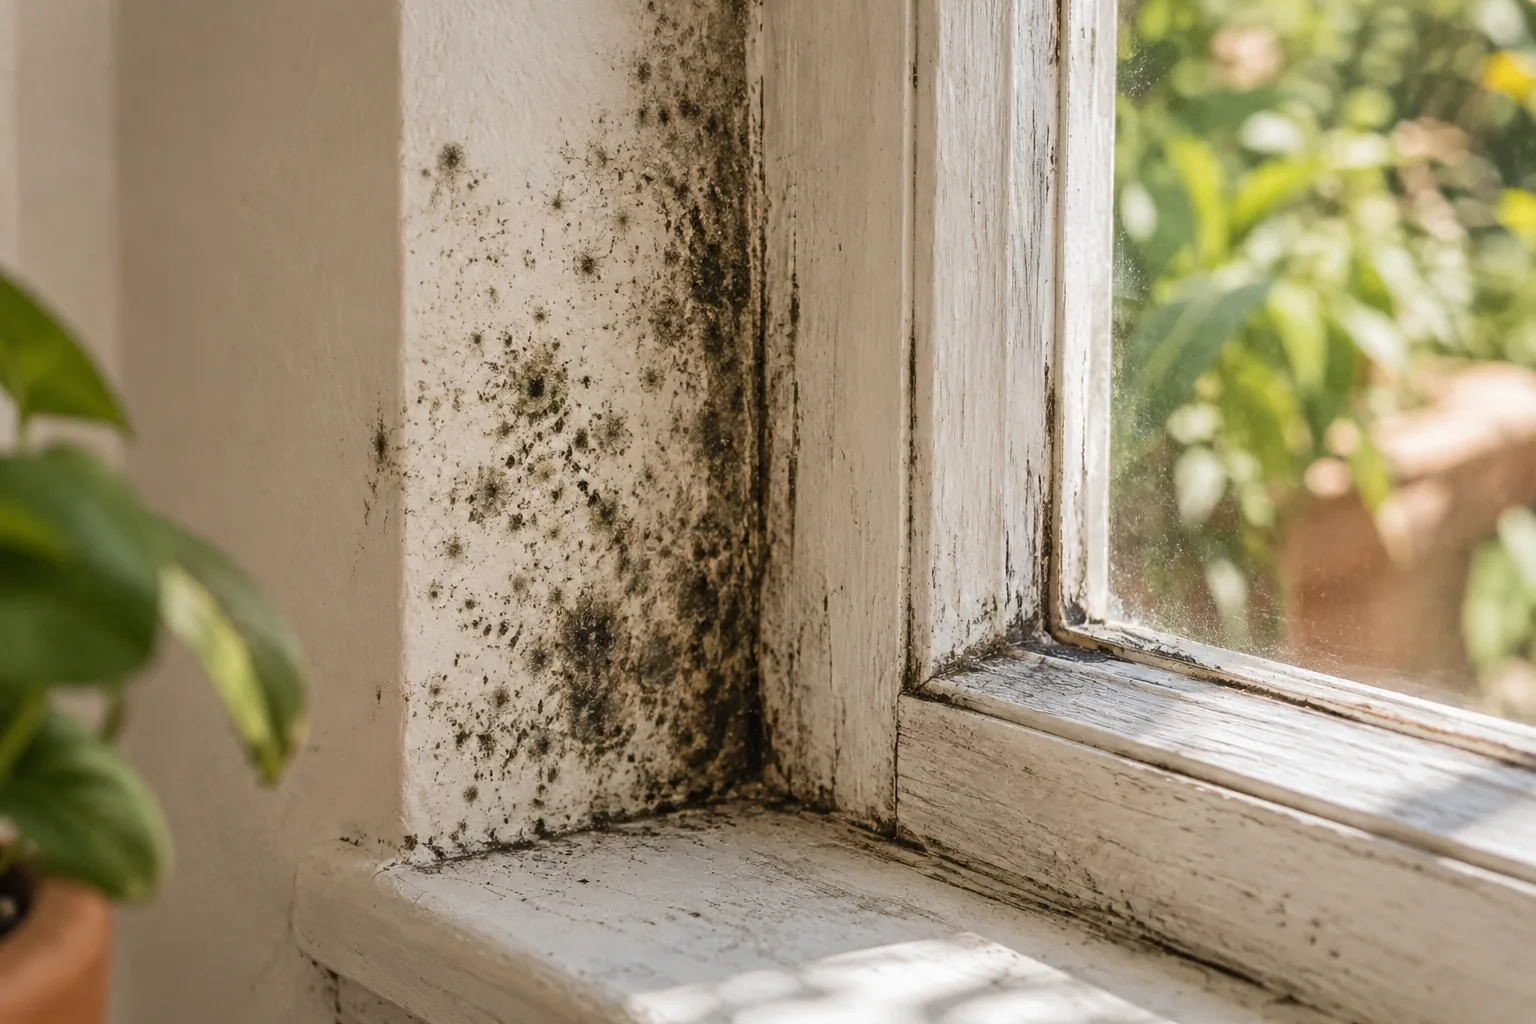
Where there is a small mould patch on a suitable hard surface, use a method compatible with that material and appropriate precautions. Never mix cleaning products. Do not dry-brush growth from timber or scrape damaged plaster. If the affected surface is porous, deteriorated or difficult to reach safely, stop and seek advice. The mould treatment information describes why the material and condition matter when deciding what work is appropriate.
Reduce the moisture reaching the room
Start with activities you can identify. Use bathroom and kitchen extraction as intended, keep wet-room doors managed so steam does not spread unnecessarily and consider where clothes are being dried. If indoor laundry is unavoidable, discuss a controlled drying arrangement rather than placing racks in whichever room has spare space. A drying rack beside a cold window may explain the timing of droplets, but it does not rule out a separate defect.
Allow air to reach the window where practical. Curtains and blinds can create a narrow space in which glass and frames remain cold and poorly ventilated. Adjust them in a way that preserves privacy and safety, and observe whether the sill dries more readily. Keep furniture from blocking access to the affected area. Do not remove child-safety devices or change blind cords to improve airflow.
If basic adjustments are not enough, ask about ventilation, heating and the window assembly together. The suitable solution depends on the property. Upgrading glazing, improving extraction or addressing a leak involves different work and different people. A retail gadget should not be bought as a substitute for understanding a deteriorating frame. Write down what you have tried and the result so advice can move beyond another general suggestion to open a window.
Know when the window needs a separate assessment
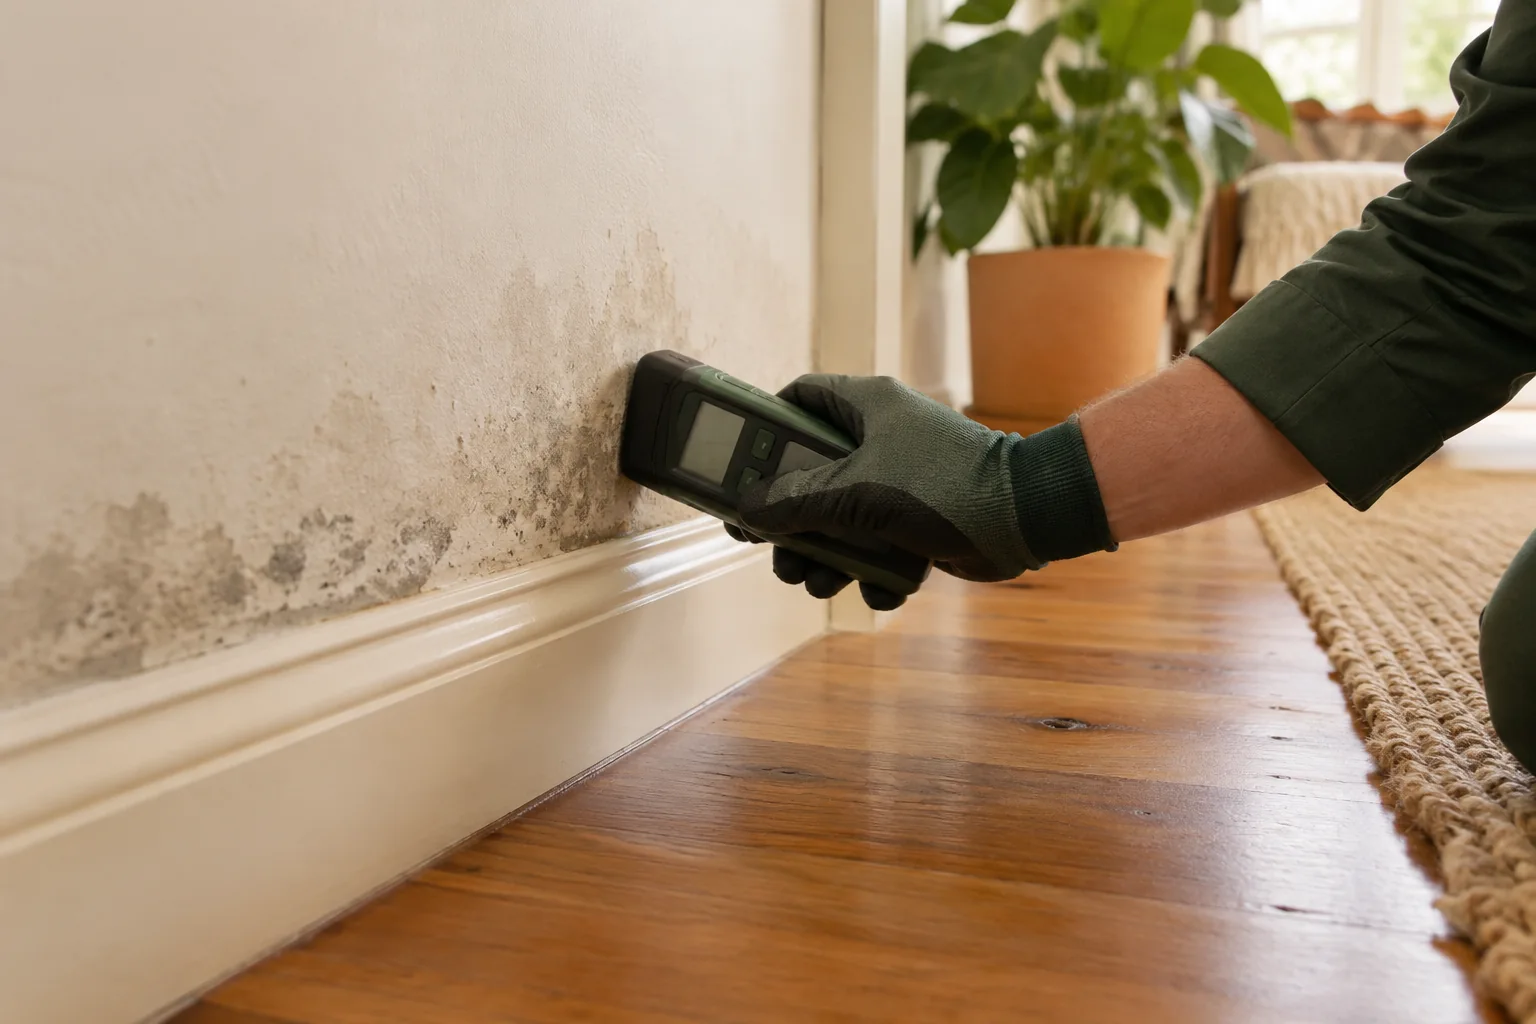
Arrange further investigation if water appears during rainfall, paint repeatedly lifts, timber becomes soft or the wall remains damp after the glass is wiped. Describe any recent glazing, sealing or building work. Photographs taken before cosmetic changes can help. In an apartment, advise the appropriate property contact if external windows or common building elements may be involved, and confirm who can authorise access and repairs.
Do not infer hidden mould from a musty smell alone, but do not ignore a persistent smell either. Mention it alongside visible conditions and any water history. Avoid pulling apart the reveal to find the answer yourself. An accessible assessment can establish what is visible and what needs a separate building investigation. The mould inspection service is a place to discuss the affected surface and the limits of the appointment.
Check progress through ordinary weather and room use
Review the same windows after any change. A clear pane on one mild afternoon is not a useful final test for a problem that occurred on cold mornings. Compare photographs and notes under similar room use, while accepting that weather will vary. Look for reduced standing water, better drying and fewer recurring marks. If the frame continues to deteriorate, return to the repair enquiry rather than treating a lower humidity number as the whole answer.
Keep maintenance straightforward: inspect the sill, dry accumulated water and watch the places that were previously affected. Condensation management is an ongoing response to how the home is used and how its surfaces behave. For a recurring mould patch around a window, call 03 8652 1296 with the room, material, approximate area and moisture history. Those details help identify whether surface removal, inspection or a different repair should come first.