
THE JOURNAL · INSPECTION PREPARATION
How to Prepare for a Mould Inspection and Ask Useful Questions
A mould inspection is more useful when the person attending can understand what you have noticed, what has changed and which areas are accessible. Preparation does not mean cleaning the evidence away or buying a testing kit. It means bringing together a clear history and making sensible access arrangements. This guide helps you prepare a practical brief and ask questions that lead to a defined next step.
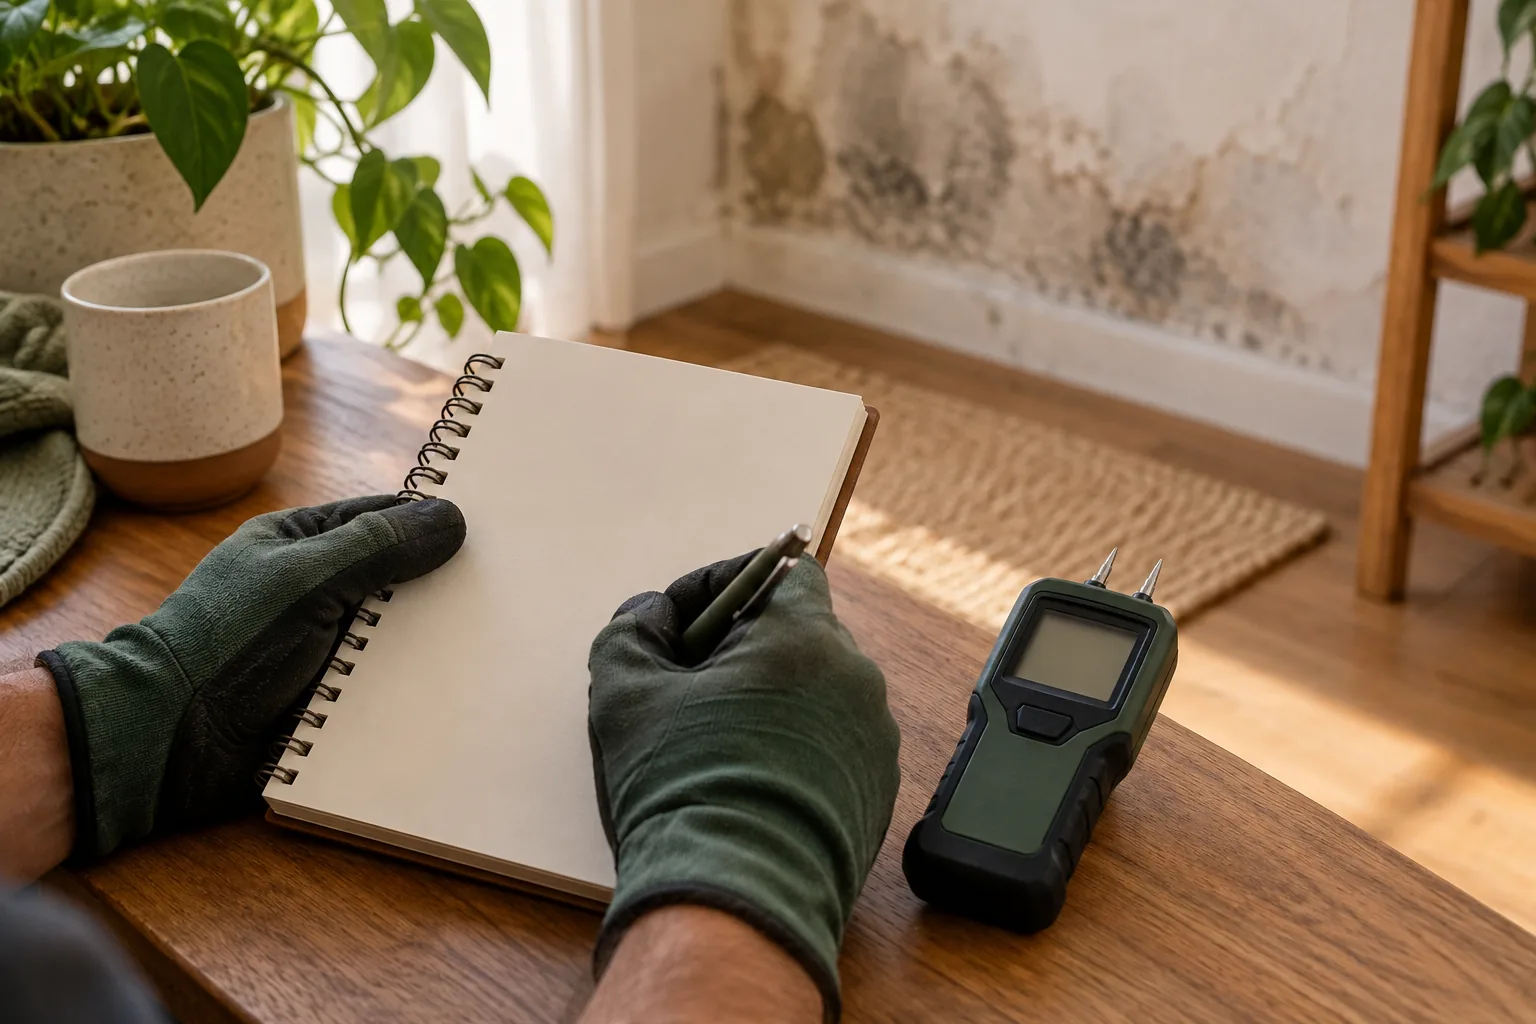
Keep the affected area undisturbed if it is extensive, fragile or difficult to reach. Do not open walls, remove electrical covers or climb into a roof space for photographs. If there is an active leak, unstable ceiling or electrical hazard, contact the appropriate qualified professional promptly. An appointment to assess visible mould should not delay an urgent safety or repair response.
Write a short description of the concern
Begin with the room and the location: lower bedroom wall behind a wardrobe, bathroom ceiling above the shower, or window reveal in the lounge. Identify the material if you know it and describe the finish. Explain whether the marks are scattered, concentrated in one corner or spread across several accessible surfaces. An approximate size is helpful; a dramatic description is less useful than a factual one.
Include when you first noticed the problem and whether it has changed. Mention any cleaning, repainting, leak repair or ventilation work since then. If you cannot remember a date, say approximately when it happened rather than guessing. A patch that returned after repainting has a different history from growth discovered for the first time behind furniture. The inspector needs that context even if the surfaces look similar on the day.
Separate observation from interpretation. Write “wall felt damp after rain” rather than “rising damp”, unless a relevant professional has established that finding. Write “musty smell near the cupboard” rather than “mould throughout the cavity”. These distinctions prevent an enquiry from being built around an unconfirmed diagnosis. You can ask what further investigation is appropriate without needing to decide the cause in advance.
Photograph the area in a way that explains the room
Take a wide photograph first. Show the wall, nearby window, furniture and the approximate position of the marks. Then take closer photographs from a safe distance. Use daylight or ordinary room lighting where possible, and keep original files rather than only cropped screenshots. Filters and heavy editing can make a surface look different from its actual condition. If the issue changes, date each set so the sequence is clear.
Do not move heavy items or disturb growth to improve a photograph. A partially blocked view still provides useful information if you explain the obstruction. If the ceiling is high, photograph from the floor. Do not balance on a bed or chair. If water is near electrical equipment, keep clear and prioritise safety. The appointment can address what access is possible with suitable arrangements; your preparation should not create a new hazard.
Organise the images by room rather than sending an unlabeled stream. A simple file name or accompanying note is enough. Include photographs of relevant water staining or deteriorated paint as well as the visible mould. Avoid describing an image as a laboratory identification. Colour and appearance do not establish a species, and the photograph cannot show every concealed condition inside a building element.
Collect the moisture and repair history
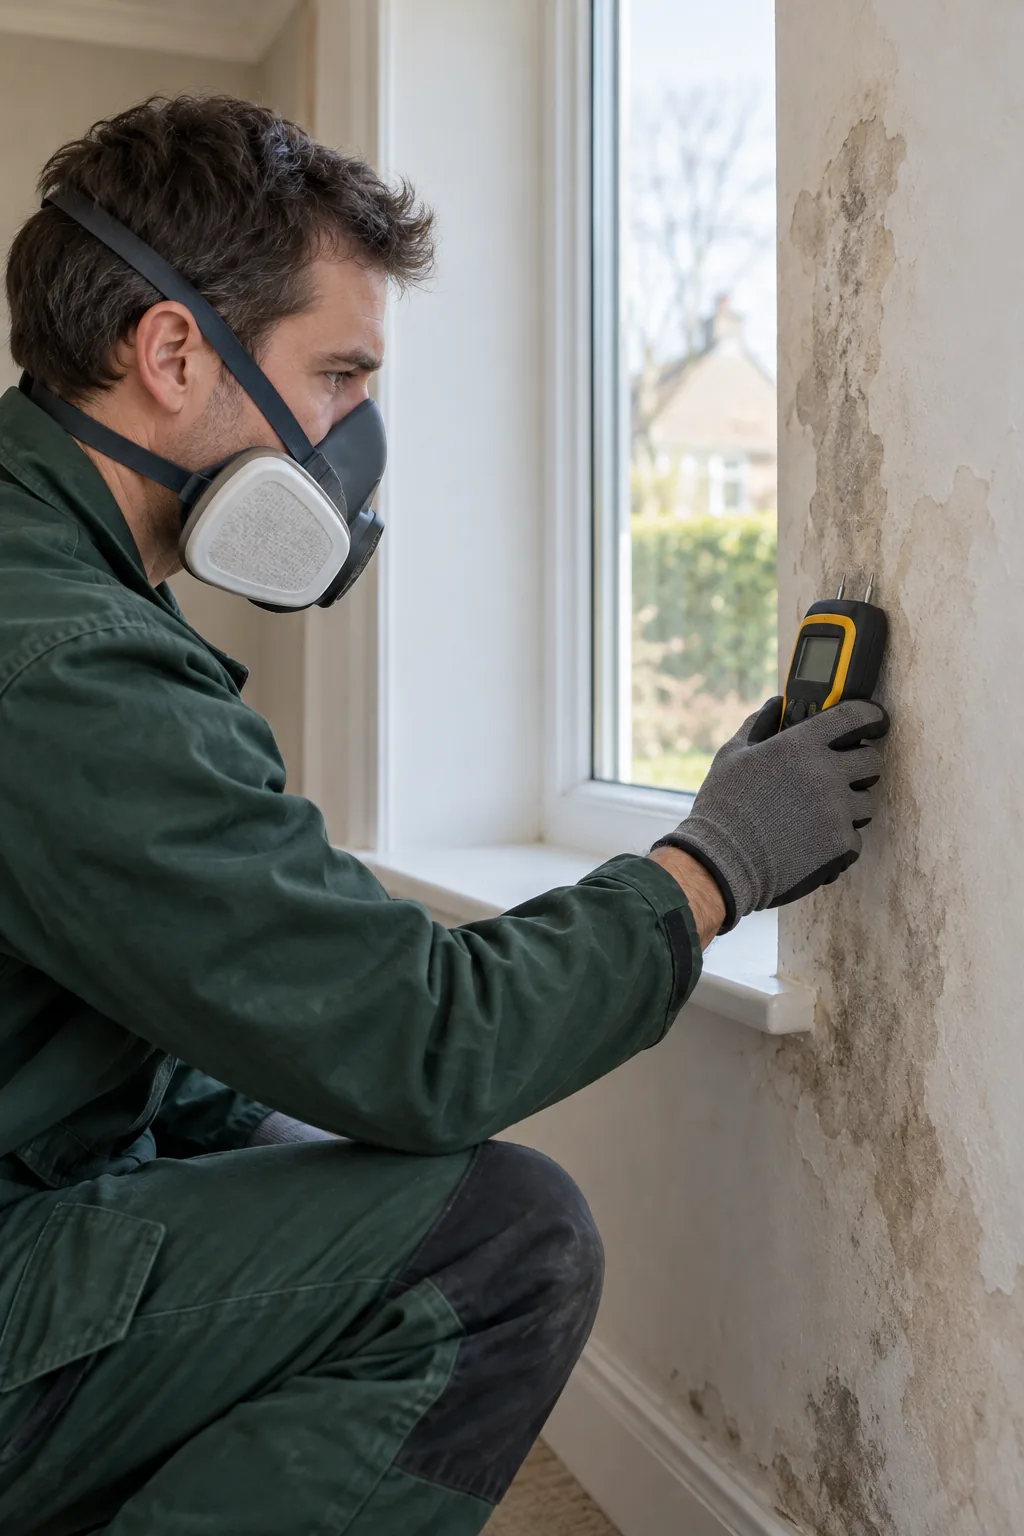
Find any reports from plumbers, roofers, builders or previous mould work. Note whether a repair was completed and whether drying was documented. Include information about recurring condensation, extraction problems or indoor laundry where relevant. You do not need to prepare a technical report yourself. A short timeline connecting what happened and what work followed is often the most useful document to bring.
If you have humidity readings, include the device location, temperature where available and the time of each observation. Explain whether the instrument was moved between rooms. Relative humidity in room air is different from moisture within a material. Avoid using one number as proof that a wall is dry. The moisture log guide gives a manageable way to record those conditions alongside photographs and room use.
Tell the inspector about an active or suspected leak before the visit. An inspection for visible mould may have a different scope from locating a concealed plumbing fault or investigating a roof assembly. Ask which observations can be made during the appointment and which need another trade. The mould inspection service sets out the assessment context; confirm your own appointment’s inclusions and limitations when arranging it.
Make safe access arrangements
List the areas that can be reached without moving fixed or heavy objects. Explain if furniture is secured to the wall, if a room cannot be emptied or if access needs permission from a property manager. Do not remove anti-tip restraints or dismantle storage units yourself. Where light belongings can be moved safely without disturbing mould, agree their relocation in advance and keep them away from the affected surface.
Consider parking, entry arrangements, stairs, pets and occupants who need advance notice. In an apartment, check whether the relevant area is inside the lot or involves common property. If the suspected source is in another unit or a shared roof, the inspector may not have access to it. Be clear about what you are authorised to arrange. A useful assessment depends on honest access boundaries rather than an expectation that every part of the building can be examined.
Keep the surface visible if it is safe to do so. Avoid placing storage against the patch immediately before the appointment. Do not repaint or cover it to make the room presentable. If you have already cleaned the area, explain when, what product was used and what happened afterwards. There is no need to recreate the growth or wait for a larger patch before seeking advice.
Ask what the assessment can establish
Ask how the inspector will approach visible growth, material condition and moisture observations. Ask what would trigger a recommendation for further building investigation. Distinguish an accessible surface assessment from destructive inspection, laboratory analysis or a full building survey. These are different tasks. A clear scope protects you from expecting a conclusion that the appointment was never designed to provide.
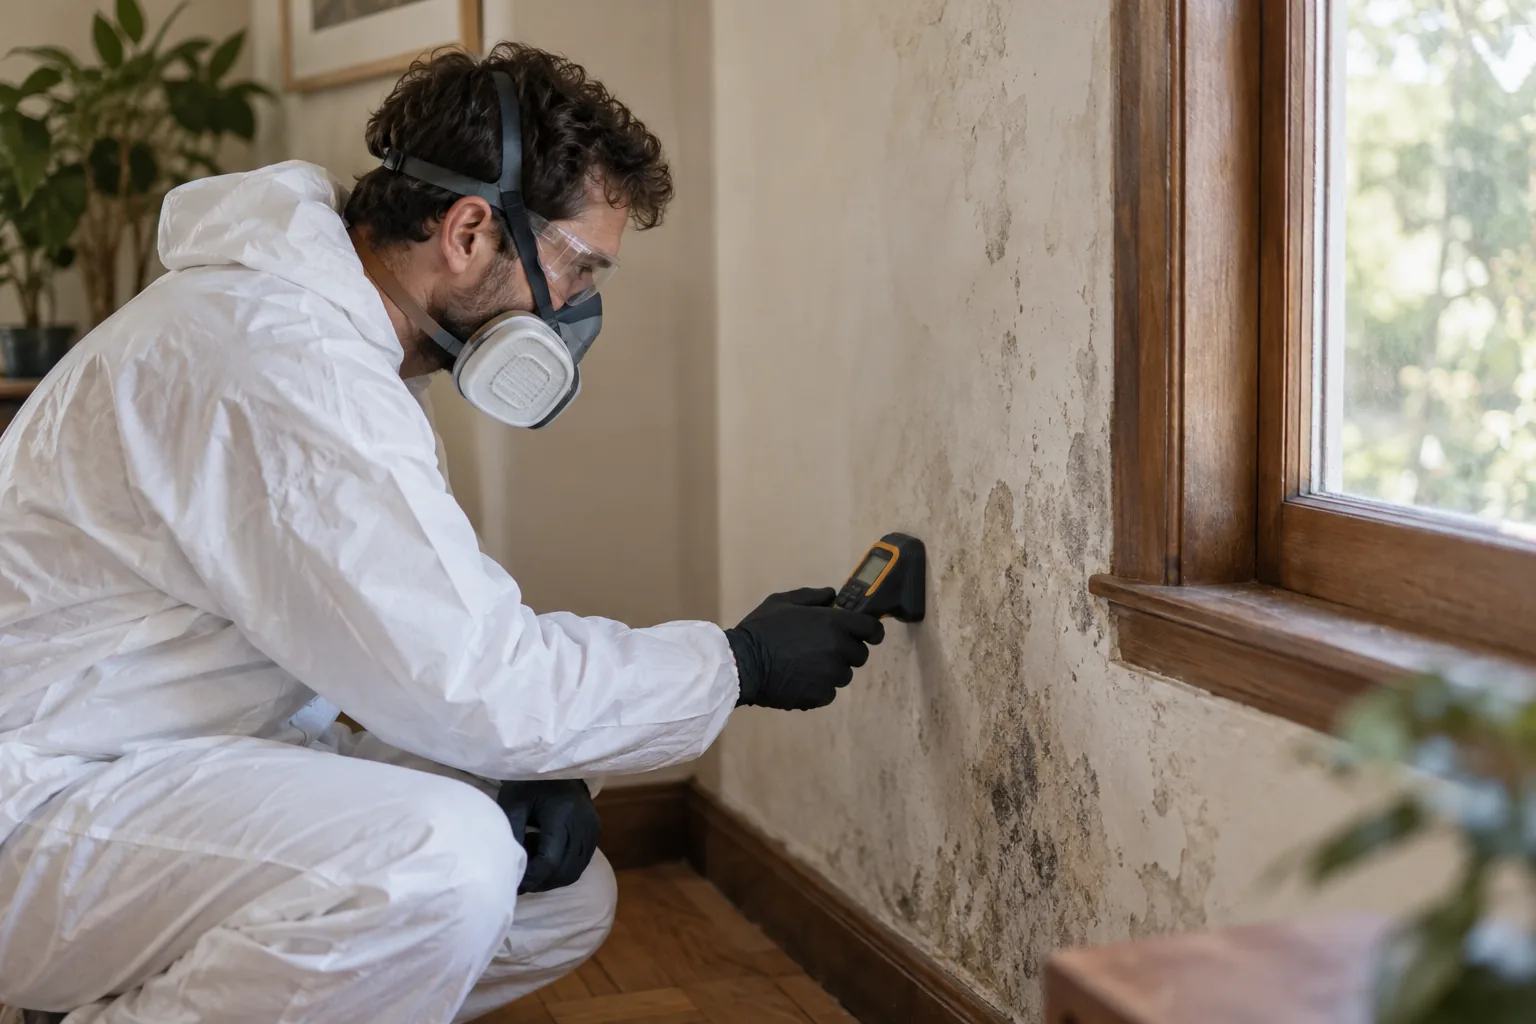
Ask about moisture instruments in plain language. What is being measured, on which material and how will the result be interpreted? A reading needs context, including surface type and access. Do not assume that a single meter reading can identify the water source or certify an entire room. It is reasonable to ask which findings are firm observations and which are possibilities that need follow-up.
The enHealth guidance on mould explains that routine mould testing generally is not recommended because health guideline values for comparison are not available. Discuss a specific testing purpose before buying a kit or adding sampling. A test result should not distract from visible dampness, necessary repairs and the practical removal decision for the affected material.
Turn findings into an agreed action list
After the assessment, ask for the proposed next steps and who should carry them out. Which surfaces need removal or treatment? Which materials are too deteriorated for an ordinary clean? Is a plumbing, ventilation or building repair needed first? What can remain in place, and what needs separate specialist advice? These questions produce a useful plan without treating every damp room as the same job.
Ask what work is excluded. Furniture, curtains, carpets, clothing and other textiles may require separate advice and are outside our visible-surface mould removal scope. Ask about preparation, occupant access and any precautions during work. If a quote follows, compare it with the action list rather than assuming every recommendation is included in the price. Keep a copy so the removal appointment starts with the same agreed understanding.
For rented or managed properties, share the findings through the appropriate contact and retain the original report. Confirm who can authorise repairs and what access is required. Do not assume that arranging inspection automatically authorises demolition, disposal or repainting. A coordinated process matters when several parties are involved, especially if moisture originates outside the room being treated.
Keep a useful follow-up record
Once work is completed, store the inspection notes with repair invoices, removal scope and comparison photographs. Note any moisture problem that remains under investigation. Agree how you will monitor the previously affected area and what should prompt another enquiry. This gives future observations a reference point. A recurring mark can then be discussed against the actual work completed rather than a vague statement that the room was “treated”.
Read how to prepare a room for mould removal when a removal scope has been agreed. To arrange an inspection enquiry, call 03 8652 1296 with the room, material, approximate area and access restrictions. Preparation should make the visit more useful and safer; it should not involve exposing yourself to growth or altering the building just to gather information.