
THE JOURNAL · BATHROOM MOULD
How to Deal with Bathroom Mould and Keep Surfaces Drier
Bathroom mould can start as a few marks near a shower screen and become a recurring job that never seems finished. The useful question is not simply which spray to buy. You need to work out which material is affected, how long it stays wet and whether the room has a cleaning problem, a ventilation problem or a leak. These can occur together. This guide helps you organise a sensible response without pulling apart the shower or making assumptions about what is behind the tiles.
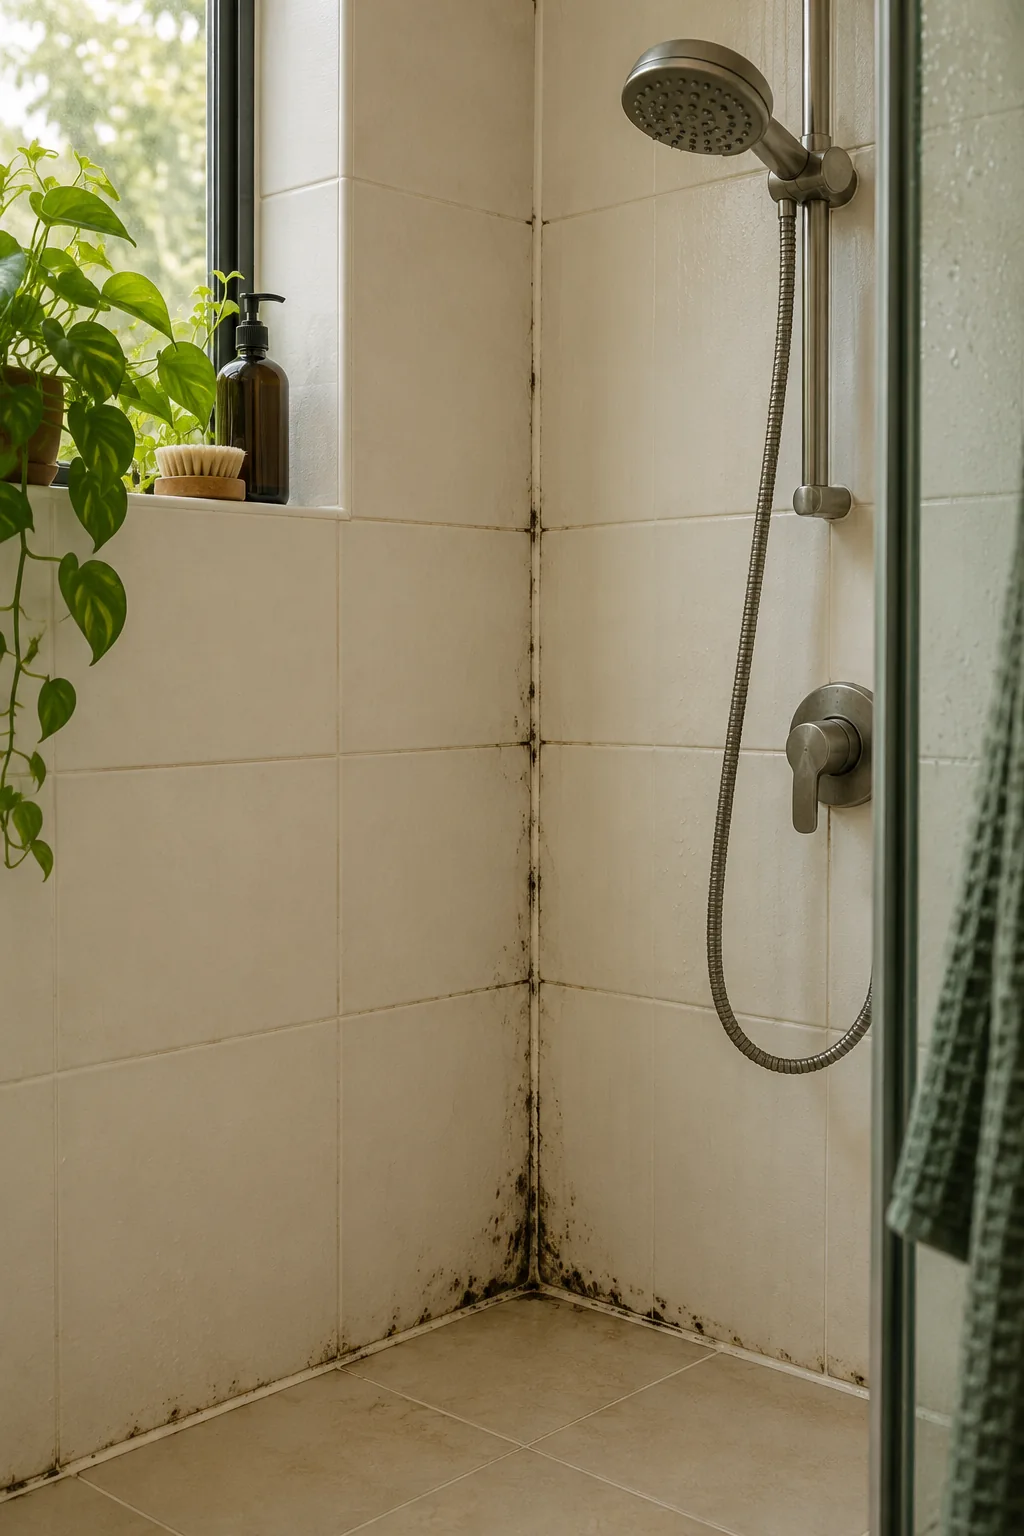
Start with a small, visible and accessible area. Widespread growth, deteriorating plaster, water around electrical fittings or suspected concealed damage needs professional assessment. People who are more vulnerable to mould exposure should avoid the clean-up. If you are unsure about the condition of the room, arrange an inspection before disturbing surfaces. Bathroom maintenance should make the property easier to understand, not hide evidence that would help someone find the moisture source.
Look at the material before choosing a method
Treat the shower as several different surfaces. Glazed tiles, grout, silicone, painted walls and plaster ceilings do not all respond to cleaning in the same way. A mark sitting on a sound tile surface is different from staining that runs through old silicone. Grout that is crumbling, sealant that has separated and paint that is lifting deserve separate attention. Cleaning may improve the appearance without restoring a failed joint or damaged finish.
Photograph the whole shower, then take closer photographs of the affected places. Note whether marks follow the lower sealant line, collect in grout intersections or appear high above the shower. Record any loose tiles, soft adjacent walls, swollen skirting boards or dampness on the other side of the bathroom wall. Do not press on fragile materials or remove fittings to investigate. Those observations help distinguish a routine surface issue from a repair that needs a plumber, tiler or building professional.
Make a simple list with three columns: location, material and observed condition. For example, write “lower shower corner, silicone, dark marks and separated edge” rather than “black mould everywhere”. A precise description makes an enquiry more useful. Colour alone does not identify a mould species or establish the severity of the problem. Explain what you can actually see and where the bathroom seems to remain wet.
Check what happens after a normal shower
Observe the room after ordinary use before changing everything at once. Does the mirror clear while the ceiling remains covered in droplets? Is there standing water along the screen track? Do towels dry between uses? Does a corner behind a basket remain damp? These are practical clues about drying, although they do not prove the cause of mould. Record the time and what was happening in the room so later observations have context.
Check that the exhaust fan can be switched on and that its visible grille is not heavily blocked with dust. Clean an accessible grille only as the manufacturer permits, with power isolated appropriately. Do not dismantle electrical equipment or reach into a duct. A fan can sound normal while moving too little air. If moisture persists despite sensible use, an electrician or ventilation professional can assess operation, air replacement and whether the duct discharges appropriately.
Windows can help when outdoor conditions and security allow, but an open window is not a universal answer. Consider privacy, rain, outdoor smoke and the way air moves through the property. Avoid assuming that a cold bathroom must stay wide open all day. The aim is to remove moisture and allow surfaces to dry using a workable combination of extraction, ventilation and suitable heating, rather than choosing one habit and treating it as a guarantee.
Decide whether a small surface clean is appropriate
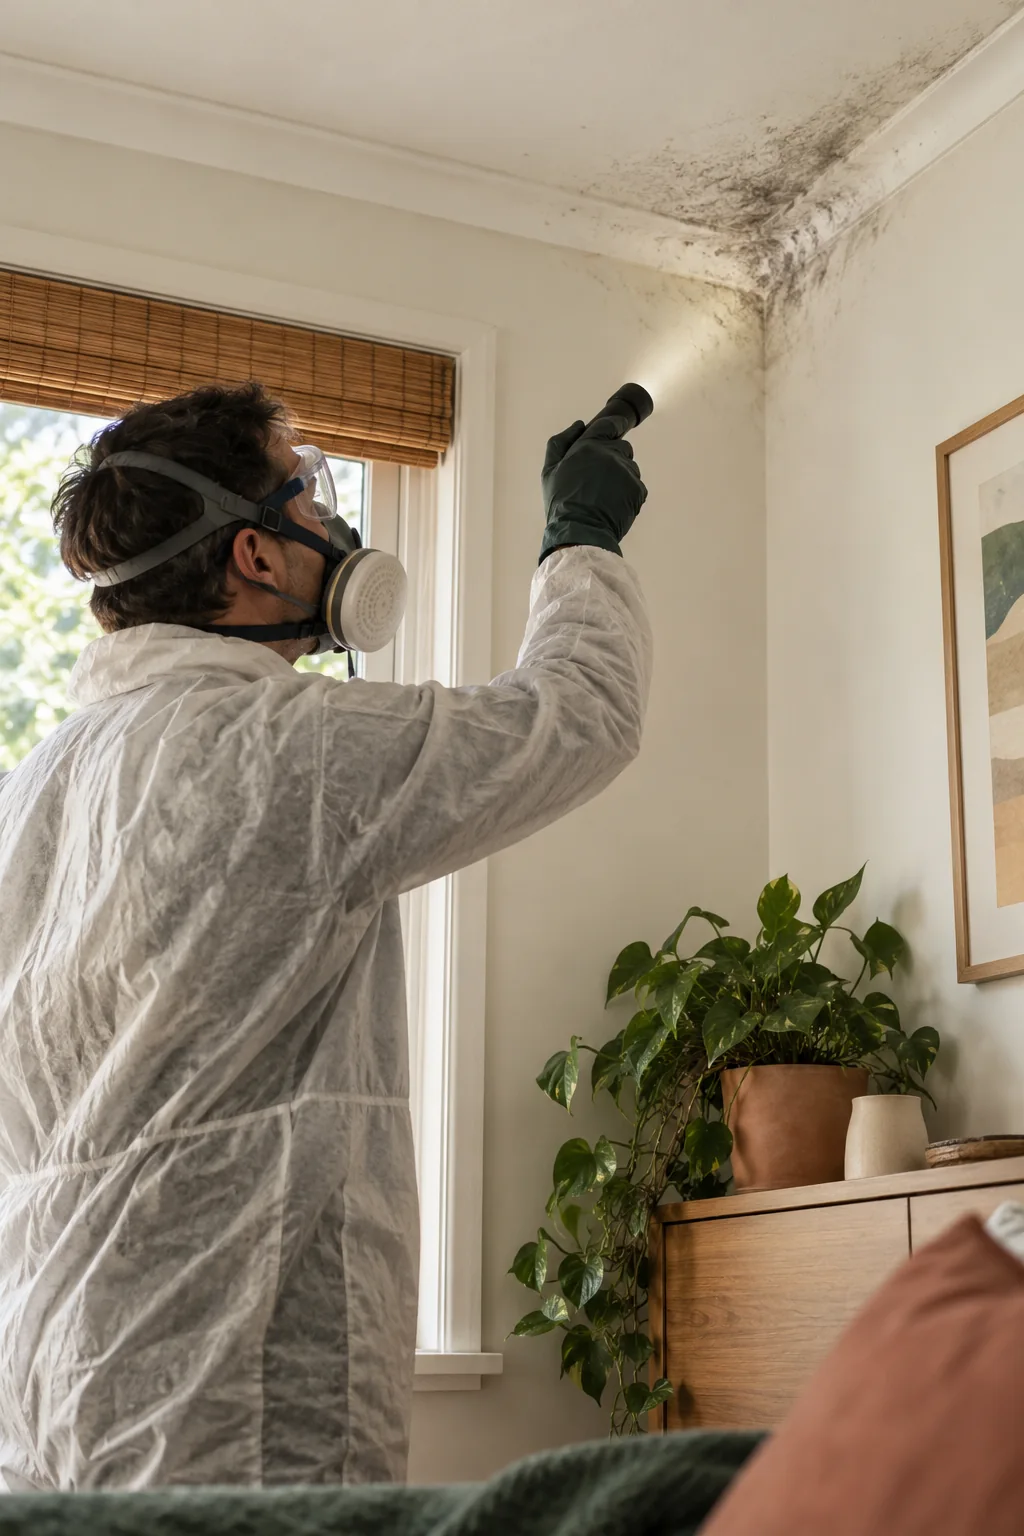
For limited growth on a sound hard surface, follow the surface manufacturer’s care guidance and the cleaner’s label. Prepare gloves, suitable eye protection and respiratory protection appropriate to the task. Keep other occupants away from the working area. Never mix cleaning chemicals, including bleach with vinegar, ammonia or another cleaner. A stronger smell is not evidence of better removal, and adding products together can create a serious hazard.
Use a controlled damp cleaning method instead of dry brushing or aggressive scraping. Keep the cleaner on the intended surface and avoid soaking surrounding porous finishes. Work in manageable areas, use clean sections of cloth and collect residues rather than moving them around the shower. Rinse if the label requires it and dry the surface afterwards. Test compatibility in an inconspicuous place, especially on natural stone, coloured grout, coated screens or decorative fittings.
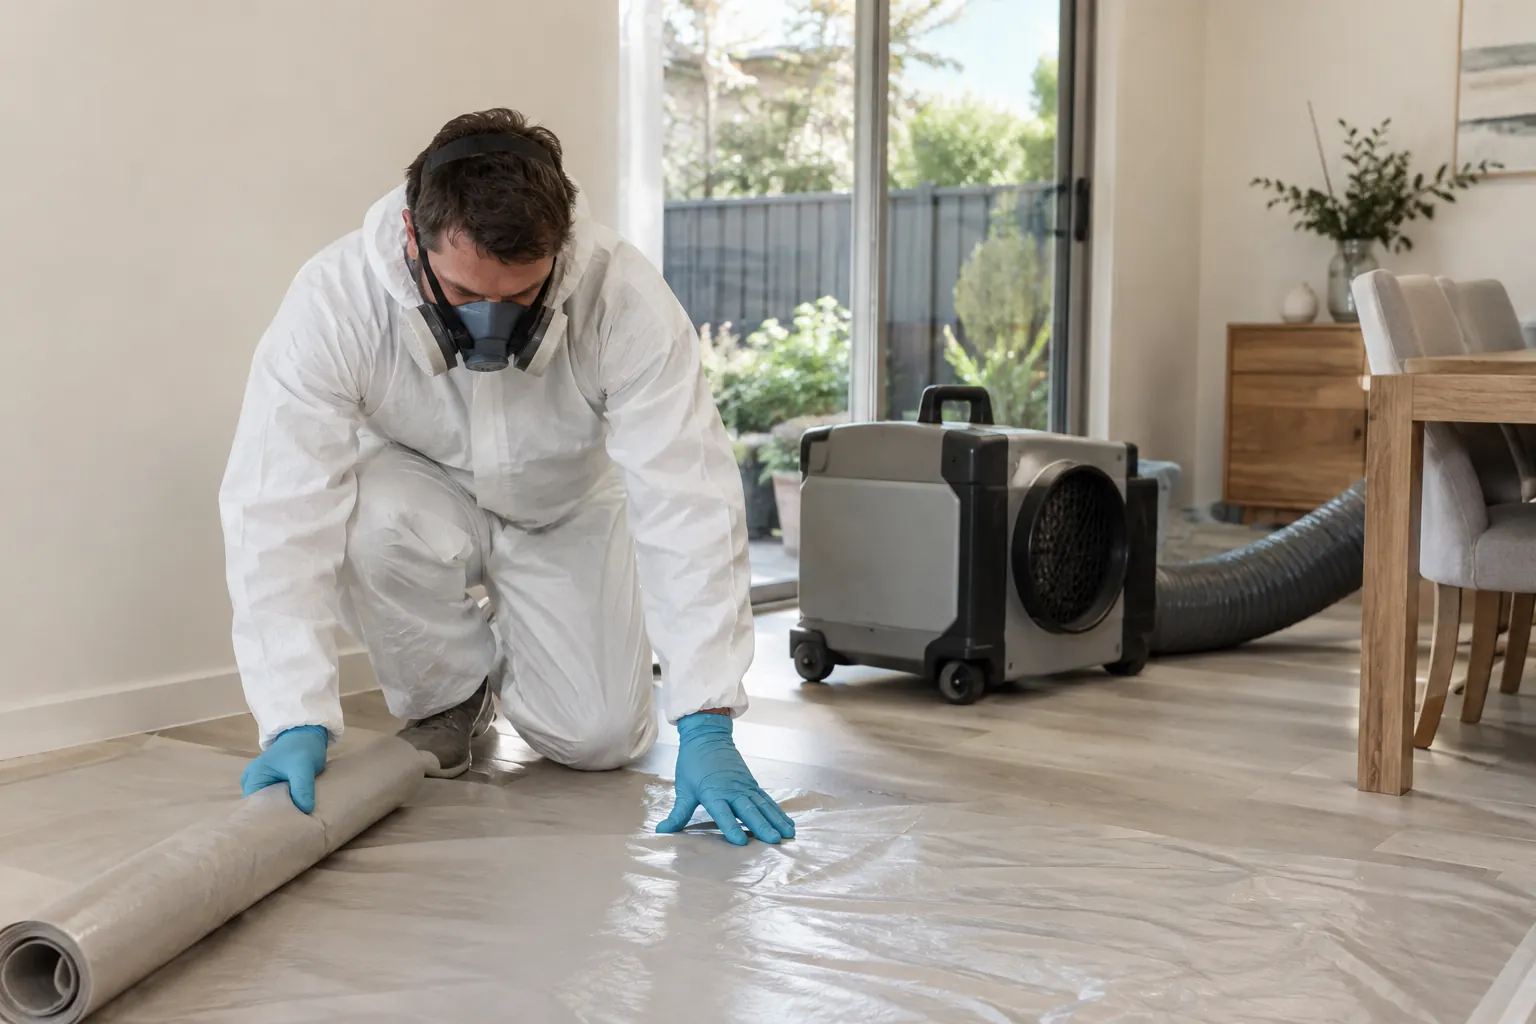
Stop if the finish breaks down, growth extends beyond the area you expected or the work requires opening a wall or removing tiles. A domestic clean should not become an unplanned demolition job. The mould removal service explains the difference between visible-surface cleaning and work that requires a broader scope. The Better Health Channel mould guidance provides Victorian public health information about precautions and when to seek help.
Recognise when grout or silicone needs a repair
Persistent dark staining does not always mean the same amount of removable growth is sitting on the surface. Old silicone can become stained internally, while a failed edge can let water collect where ordinary wiping cannot reach. Repeatedly applying more cleaner may damage surrounding finishes without resolving that problem. Ask an appropriate tradesperson to assess deteriorated joints rather than putting a fresh bead over material whose condition is unknown.
Before repair work, explain whether there has been leaking outside the enclosure, movement in the screen or dampness in an adjoining room. Cosmetic resealing should not be used to conceal a possible waterproofing defect. A tradesperson may need to establish the condition of the joint and the materials around it. Keep earlier photographs available so a newly cleaned surface does not erase the history of where staining and moisture appeared.
The same principle applies to repainting the ceiling. Do not paint over visible mould or a wet, damaged finish. Cleaning, drying and dealing with the source of moisture come first; preparation and coating selection follow. If the ceiling is soft, sagging or affected around a fitting, keep clear and arrange appropriate inspection. A fresh coat can change the colour of a patch while leaving the reason it formed unresolved.
Make the daily drying routine manageable
Choose small habits that fit how the room is actually used. After a shower, remove pooled water from suitable surfaces with a clean squeegee or cloth, spread towels so air can reach them and keep wet bathmats from sitting against cabinetry. Follow the manufacturer’s guidance for running extraction. Do not give everyone an unrealistic timetable that is abandoned within a week. Consistent, achievable drying is more useful than an elaborate routine performed occasionally.
Look at storage as well. Bottles packed tightly in a corner, a laundry hamper against an external wall and a bathmat folded over a wet edge can leave concealed damp spots. Keep the room organised so surfaces are accessible for ordinary maintenance and observation. This does not mean stripping the bathroom of everything. It means noticing which arrangements make it harder to dry the exact places where marks keep returning.
If several people shower close together, the room may have little drying time between uses. Discuss whether the extraction system is suitable for that pattern. You can record moisture observations before and after the busiest part of the day and share them with a professional. Avoid treating the household as the cause by default: inadequate extraction, leaks and building conditions can also limit drying. The useful outcome is a workable plan for this bathroom.
Review the result instead of promising permanent prevention
Take comparison photographs from the same position once the area is cleaned and dry. During the following weeks, check the same joints, ceiling corners and screen tracks. Note whether new marks appear after heavy use, cold weather or rain. A recurring patch is a reason to reassess moisture and material condition, not simply repeat the same treatment more frequently. The mould inspection page explains what information to provide when arranging an assessment.
Keep any cleaner labels, repair invoices and notes together. If a contractor replaced sealant, record the location and the recommended curing and care instructions. Do not use the shower earlier than the repair instructions allow. If a fan was repaired, check its operation under ordinary use afterwards. Separate what has been fixed from what is still being monitored so the next enquiry does not begin with “everything has already been done”.
You can also read how to improve ventilation without relying on open windows all day for a broader household approach. For visible bathroom growth that needs a defined removal scope, call 03 8652 1296. Describe the affected materials, the approximate area and any signs of leaking. A careful description helps establish the next step without assuming that a surface treatment can repair every moisture problem.