
RAIN · REPAIRS · REVIEW
RESEARCH · MELBOURNE
Mould Removal Research
A repaired roof and a dry ceiling are different milestones. If a ceiling mark in your Research home is still changing, bring the repair dates and recent photographs to the enquiry. They help separate old staining from moisture that may still need attention.
Repair history considered
Ceiling condition discussed
Outstanding work separated
THE ROOM TELLS A STORY
After the roof repair.
Before the repaint.
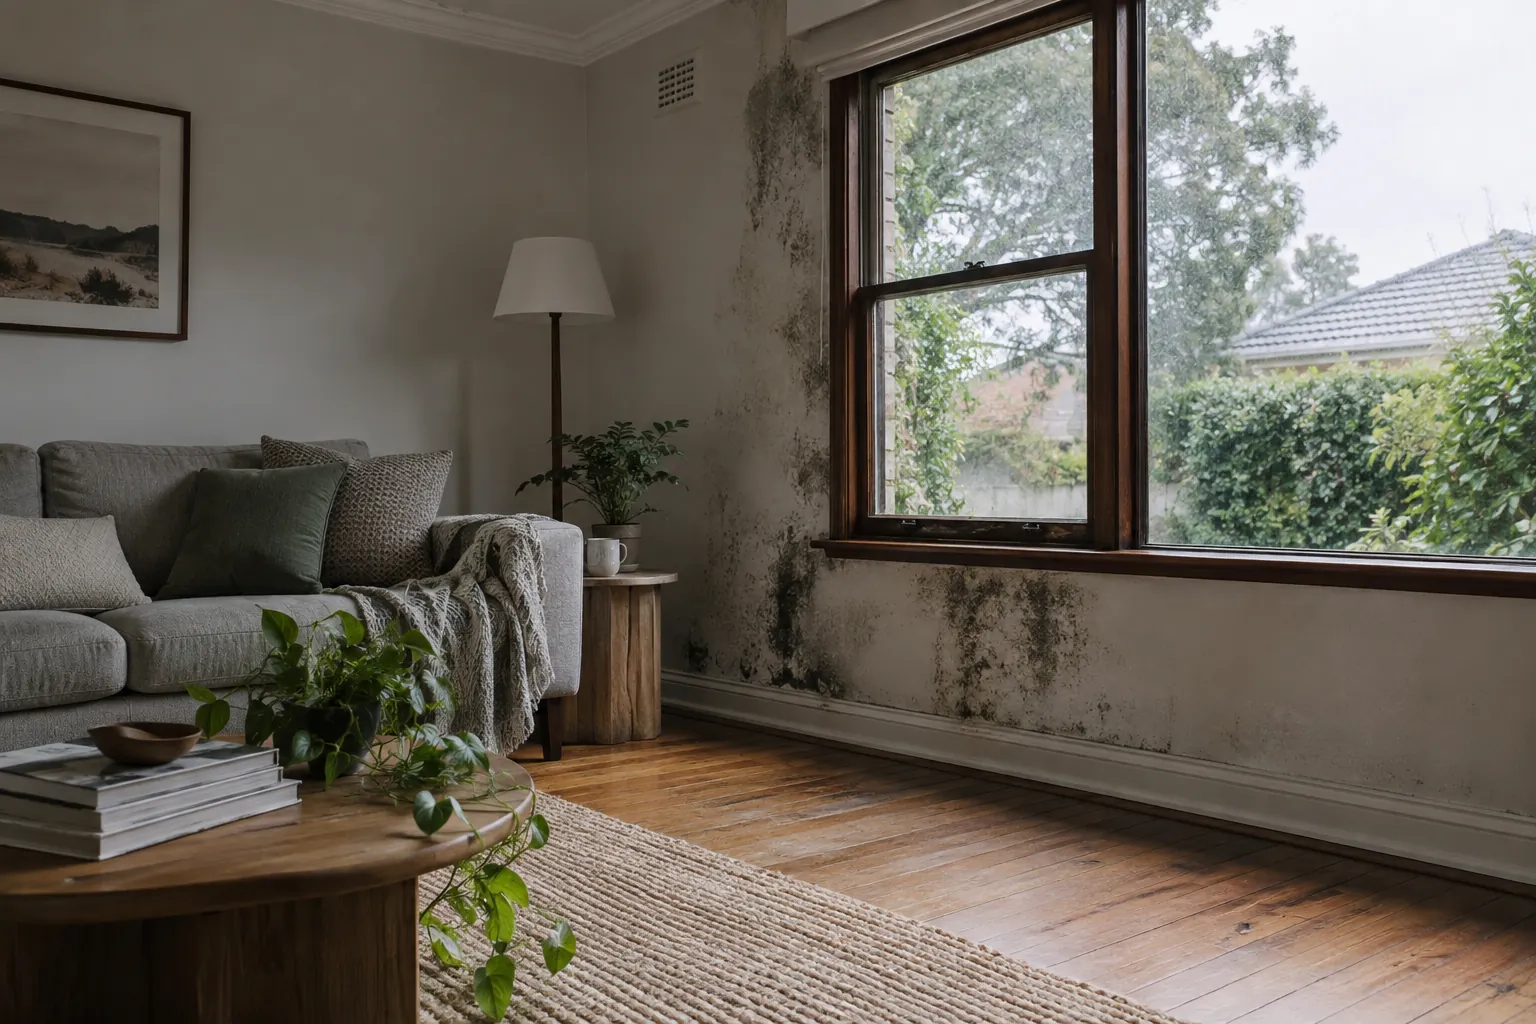
Research is listed as a Nillumbik locality. For a ceiling affected before a roof repair, keeping a record across the repair date matters more than making assumptions about the surrounding landscape. Was the board assessed? Has the stain expanded? Did the area change again during subsequent rain? These questions describe the actual condition.
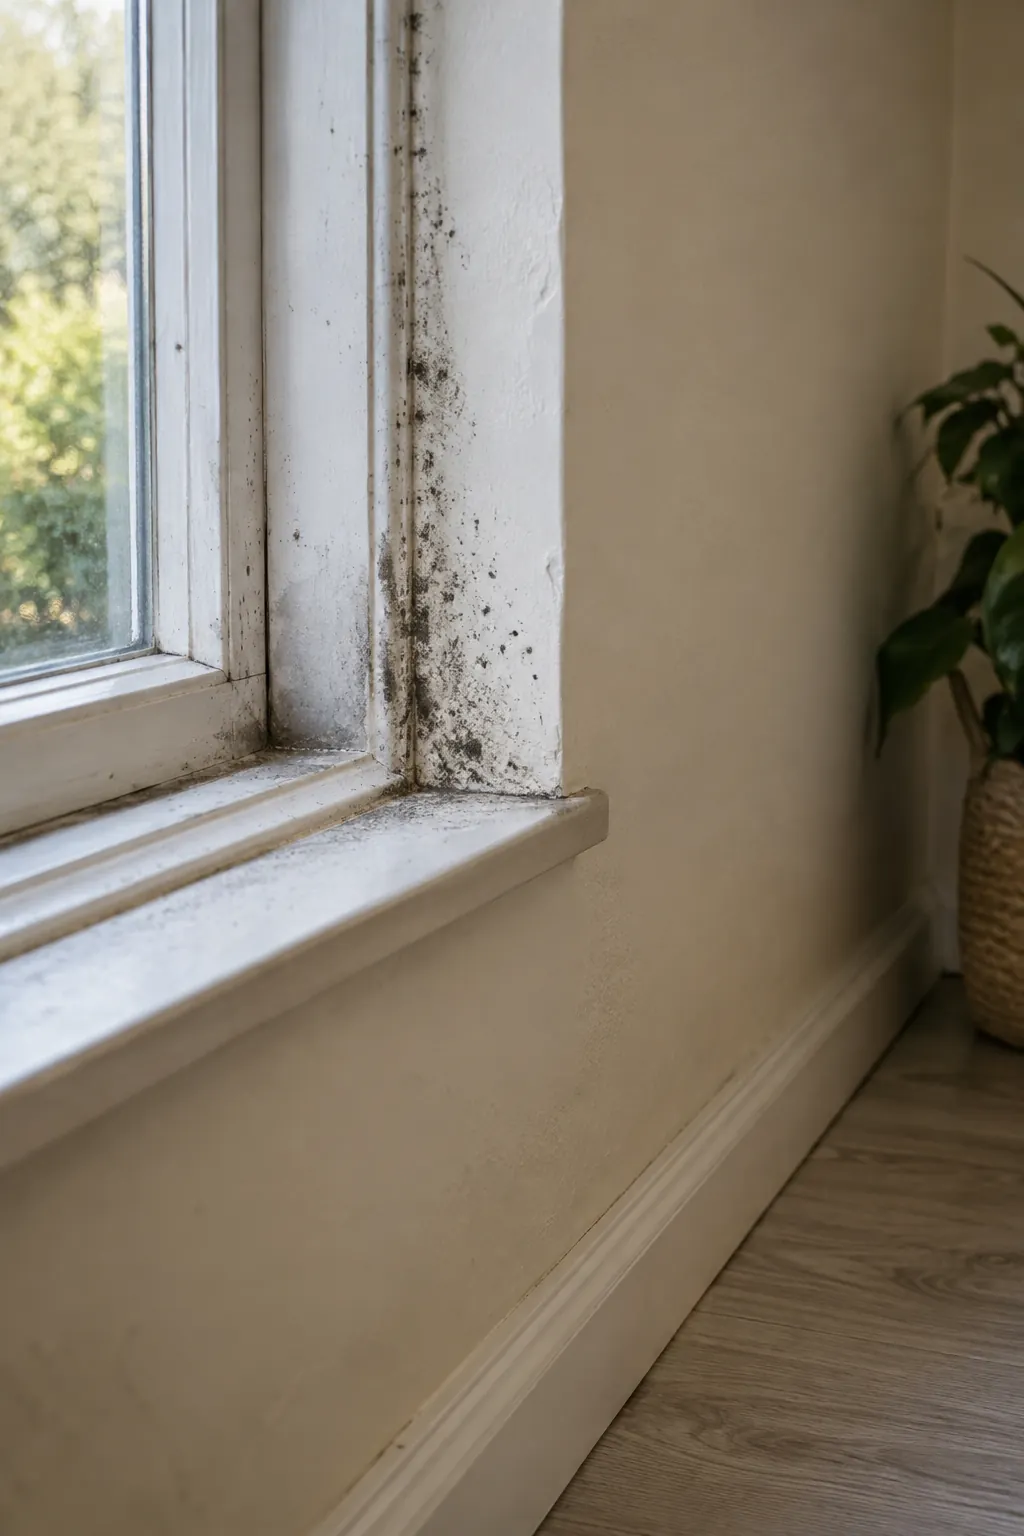
A stable stain, fresh growth and distorted plaster are not interchangeable. Explain what you can see from floor level, including the nearest light fitting and any sagging. An accessible mould inspection can consider surface evidence, while concealed or structural concerns may require the appropriate building trade.
UNDERSTANDING MOISTURE
Read the sequence.
Keep the evidence.
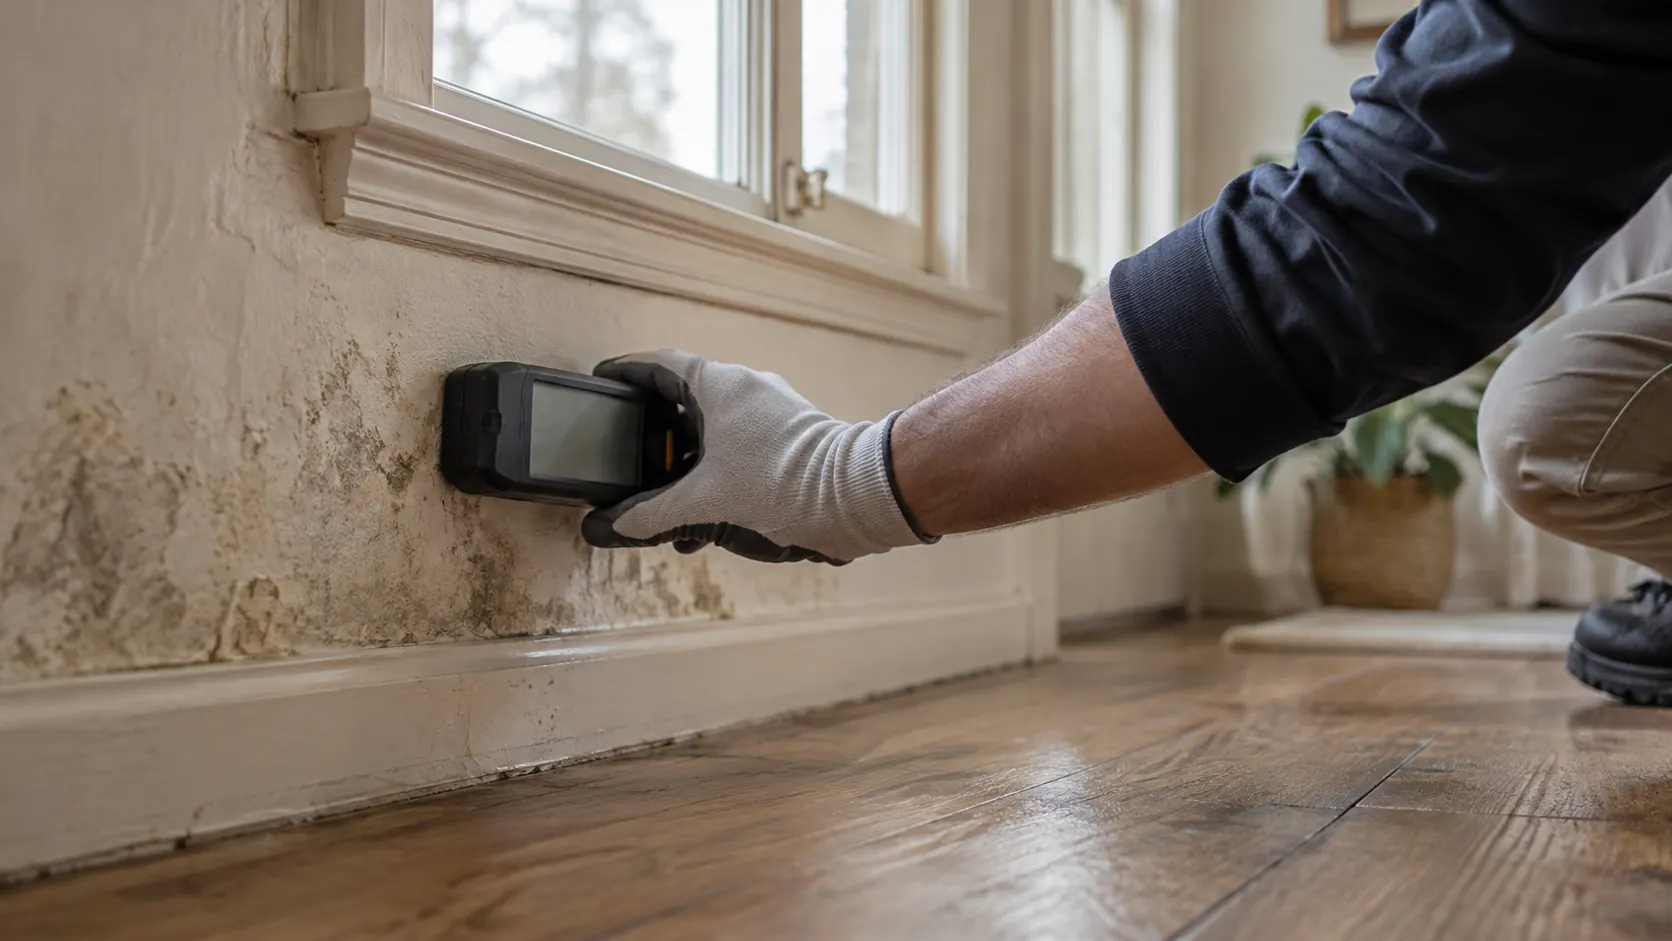
Before and after rain
Compare dated photographs rather than relying on memory. A mark that grows after the repair deserves follow-up with the relevant trade. A dry day does not demonstrate that the source is resolved or that water-damaged material is ready for decoration.
Drying and condition
A repaired water entry point does not instantly restore the board underneath it. Discuss moisture assessment and any previous drying work. Softened or distorted plaster may need a material decision, even if no fresh water is visible at the surface.
Access above the ceiling
What is visible below does not establish the state of a closed cavity. Do not enter it simply to get photographs for a mould enquiry. Explain any previous inspection findings and arrange suitable specialist access if further source investigation is necessary.
OUR REMOVAL PROCESS
A repair history
becomes a work plan.
Bring the repair record
Keep roofing invoices or reports beside the dated ceiling photographs. Note any advice about damaged board and whether that follow-up has actually occurred.
Describe safe access
Explain high ceilings, fragile belongings underneath and restricted space. Photographs taken from the floor are preferable to climbing on furniture or interfering with weakened plaster.
Separate the appointments
Clarify which trade is investigating water entry and who will assess or replace damaged material. A removal appointment should have a defined role within that wider repair sequence.
01
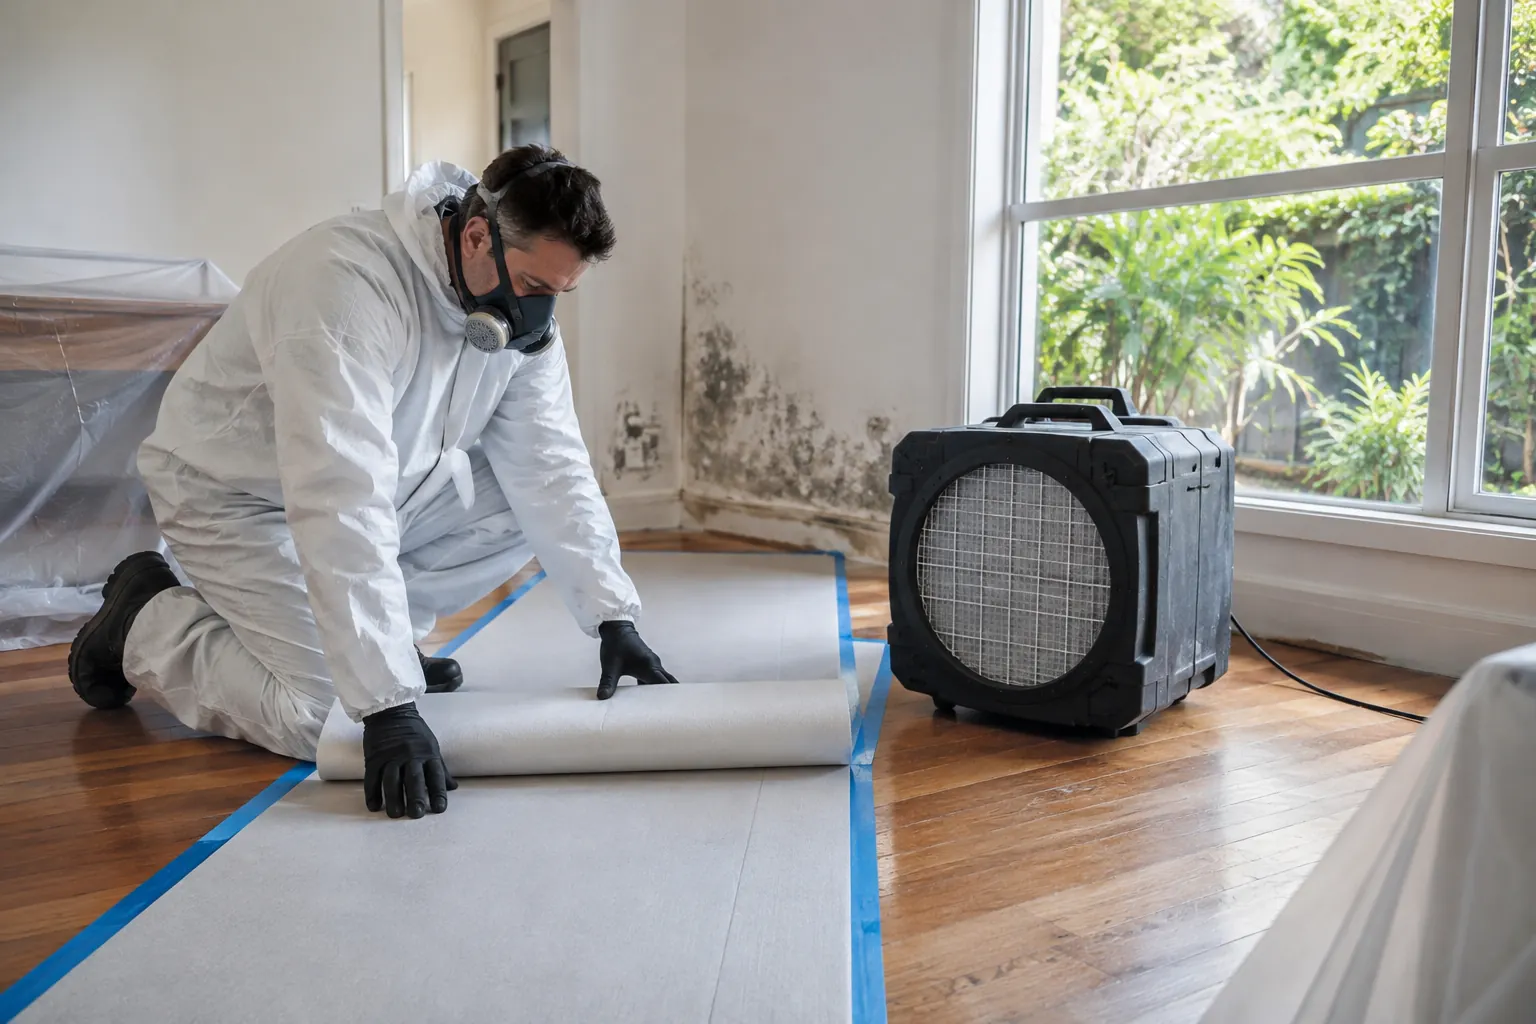
Gather the timeline
Give the leak and repair dates, affected rooms and approximate visible extent. Discuss surface removal only against an agreed accessible scope, while identifying outstanding roofing, electrical or building concerns that need separate attention.
02
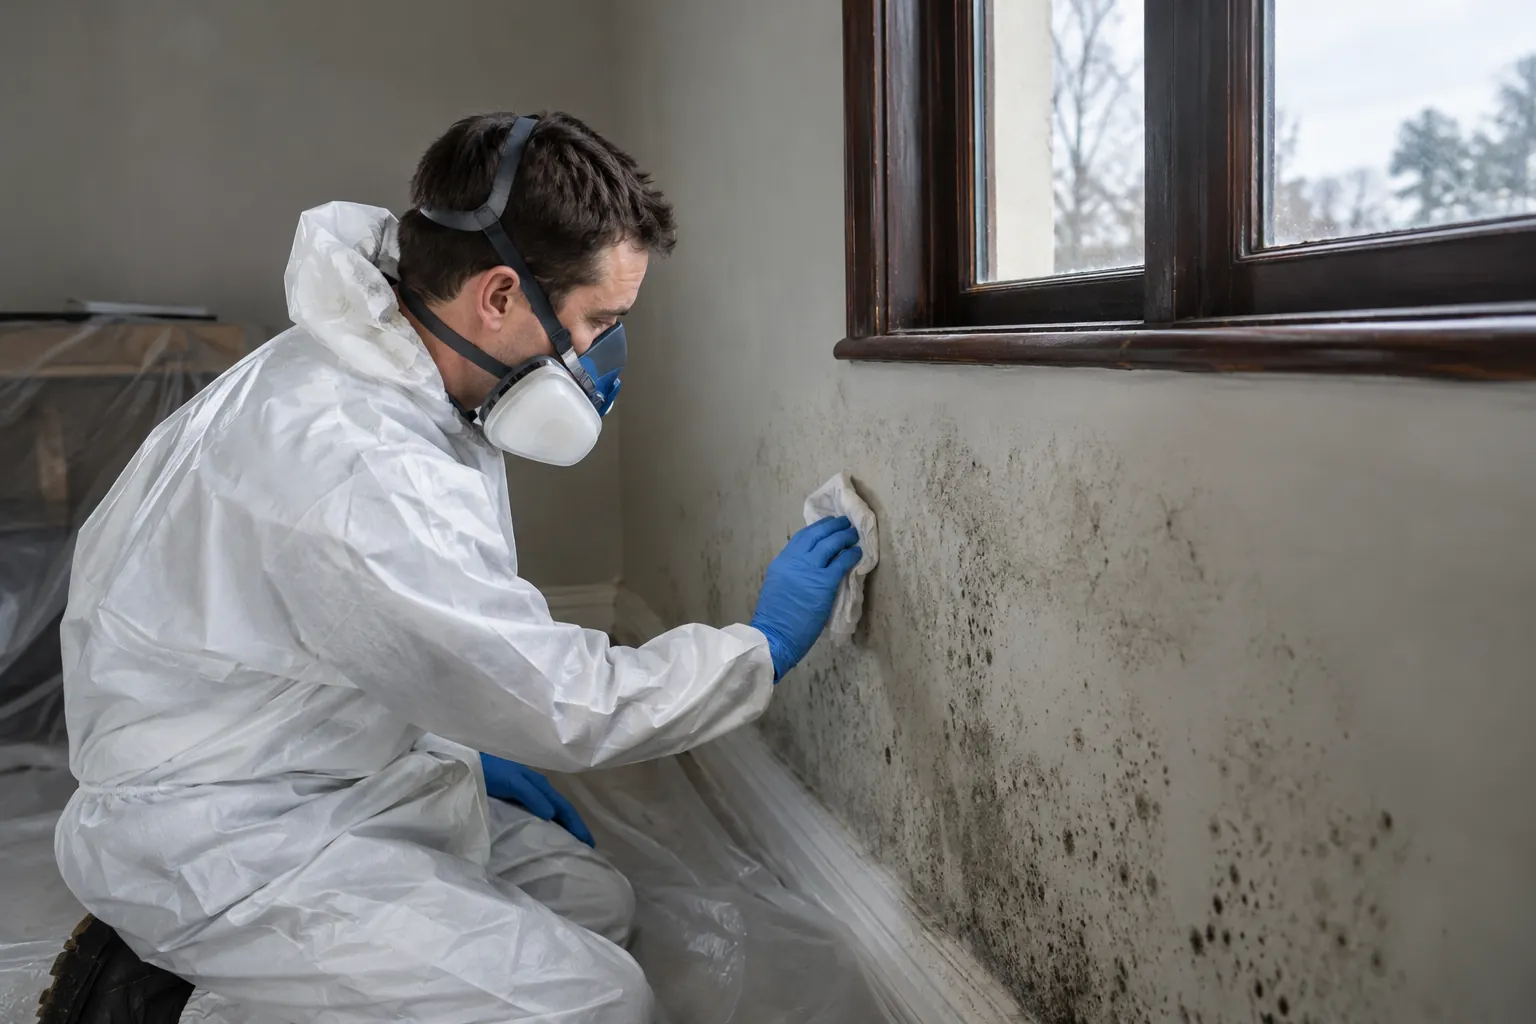
Plan the ceiling access
Mention ceiling height, room layout and belongings underneath the patch. Agree preparation and protection before work starts. Do not climb onto improvised furniture or disturb deteriorated plaster to make the ceiling look tidier for the visit.
03
Review the remaining decisions
Discuss accessible treated surfaces, residual staining and the material condition. Our remediation guide explains the connection with moisture and repairs. Finishing removal does not certify a roof repair or include replacement of damaged ceiling board.
COMMON AREAS AFFECTED
Follow the stain.
Check adjoining finishes.
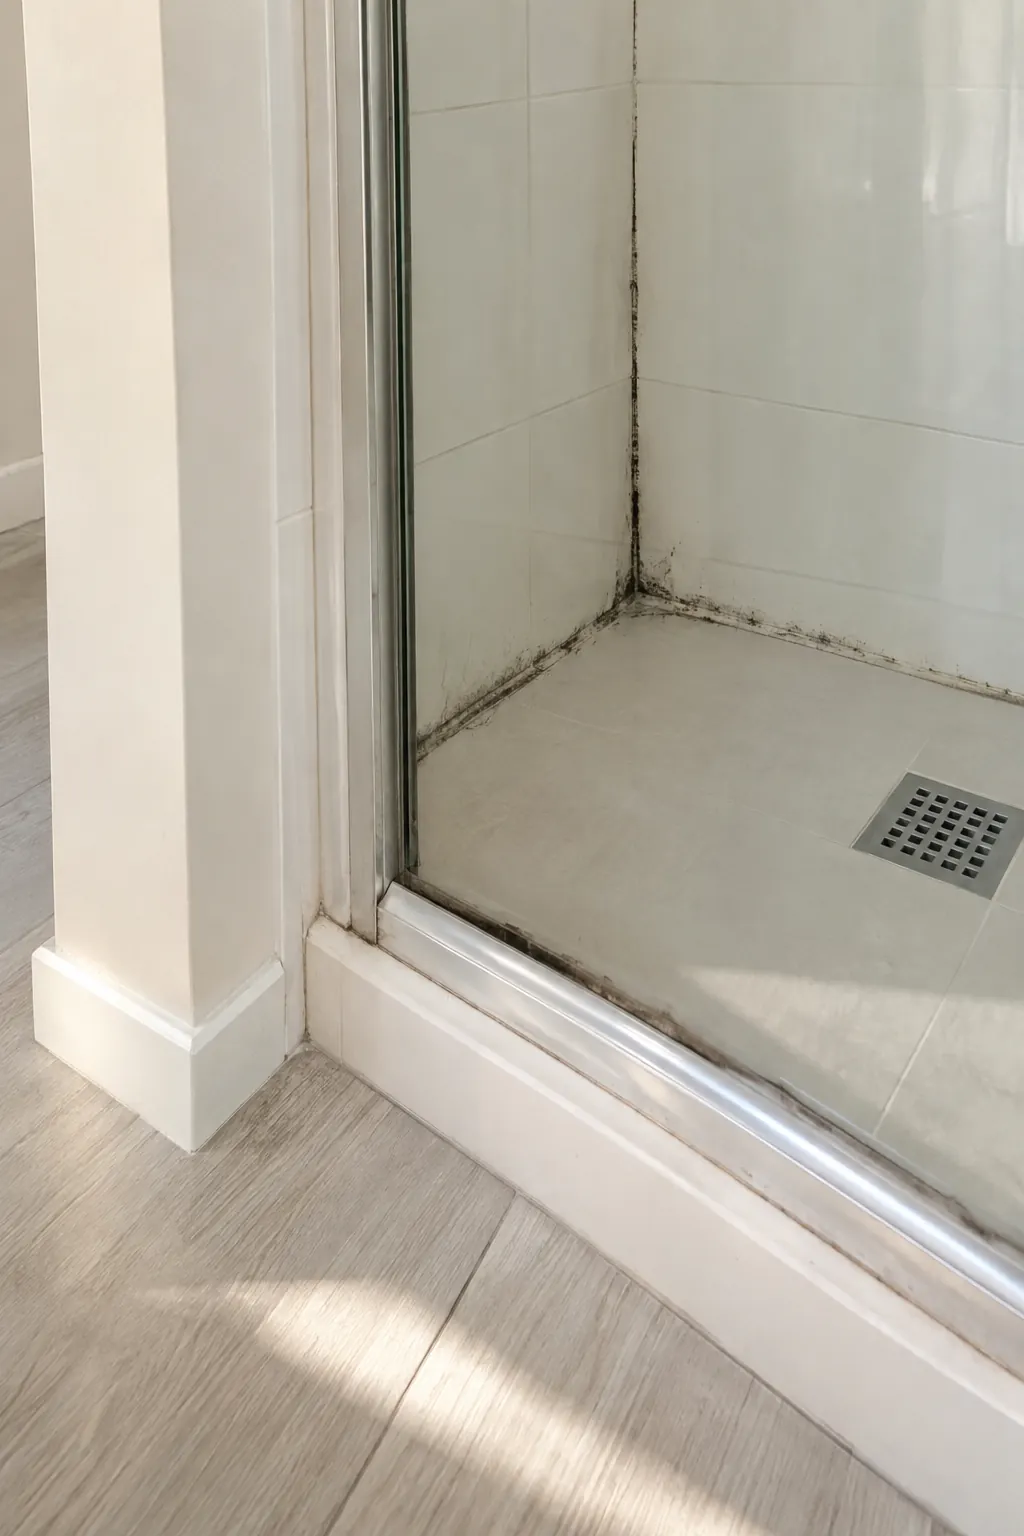
Wet-area ceilings
Shower condensation can coexist with a roof problem; record both patterns instead of choosing a cause from appearance.
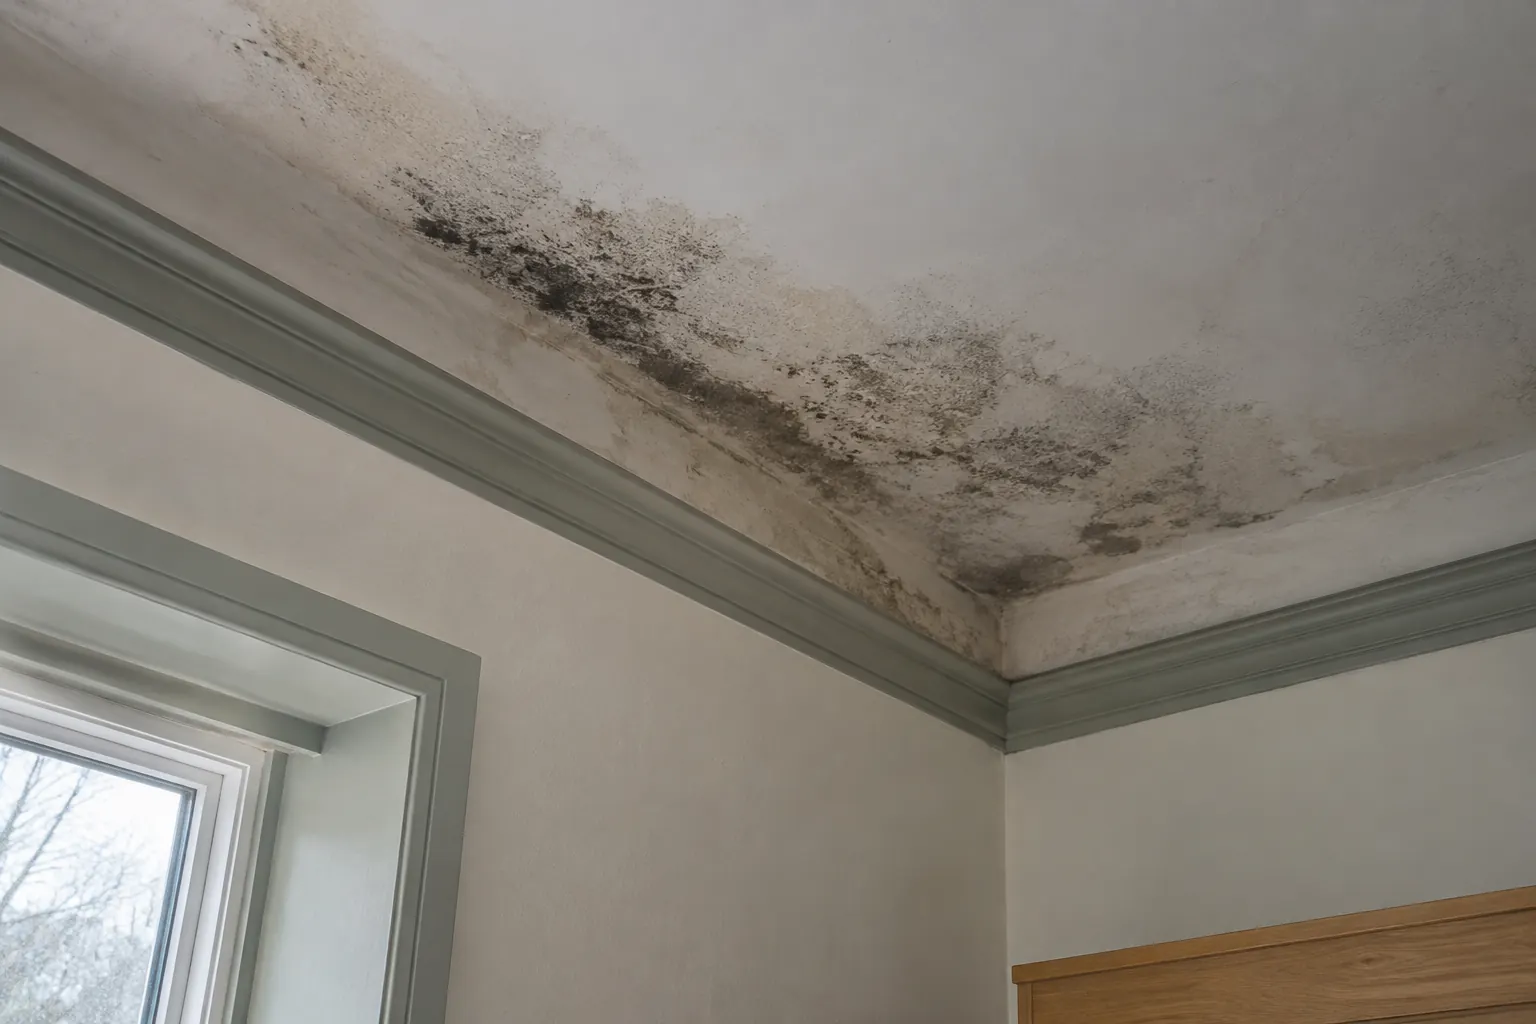
The original mark
Keep a recognisable ceiling feature in each photograph so later changes can be compared.
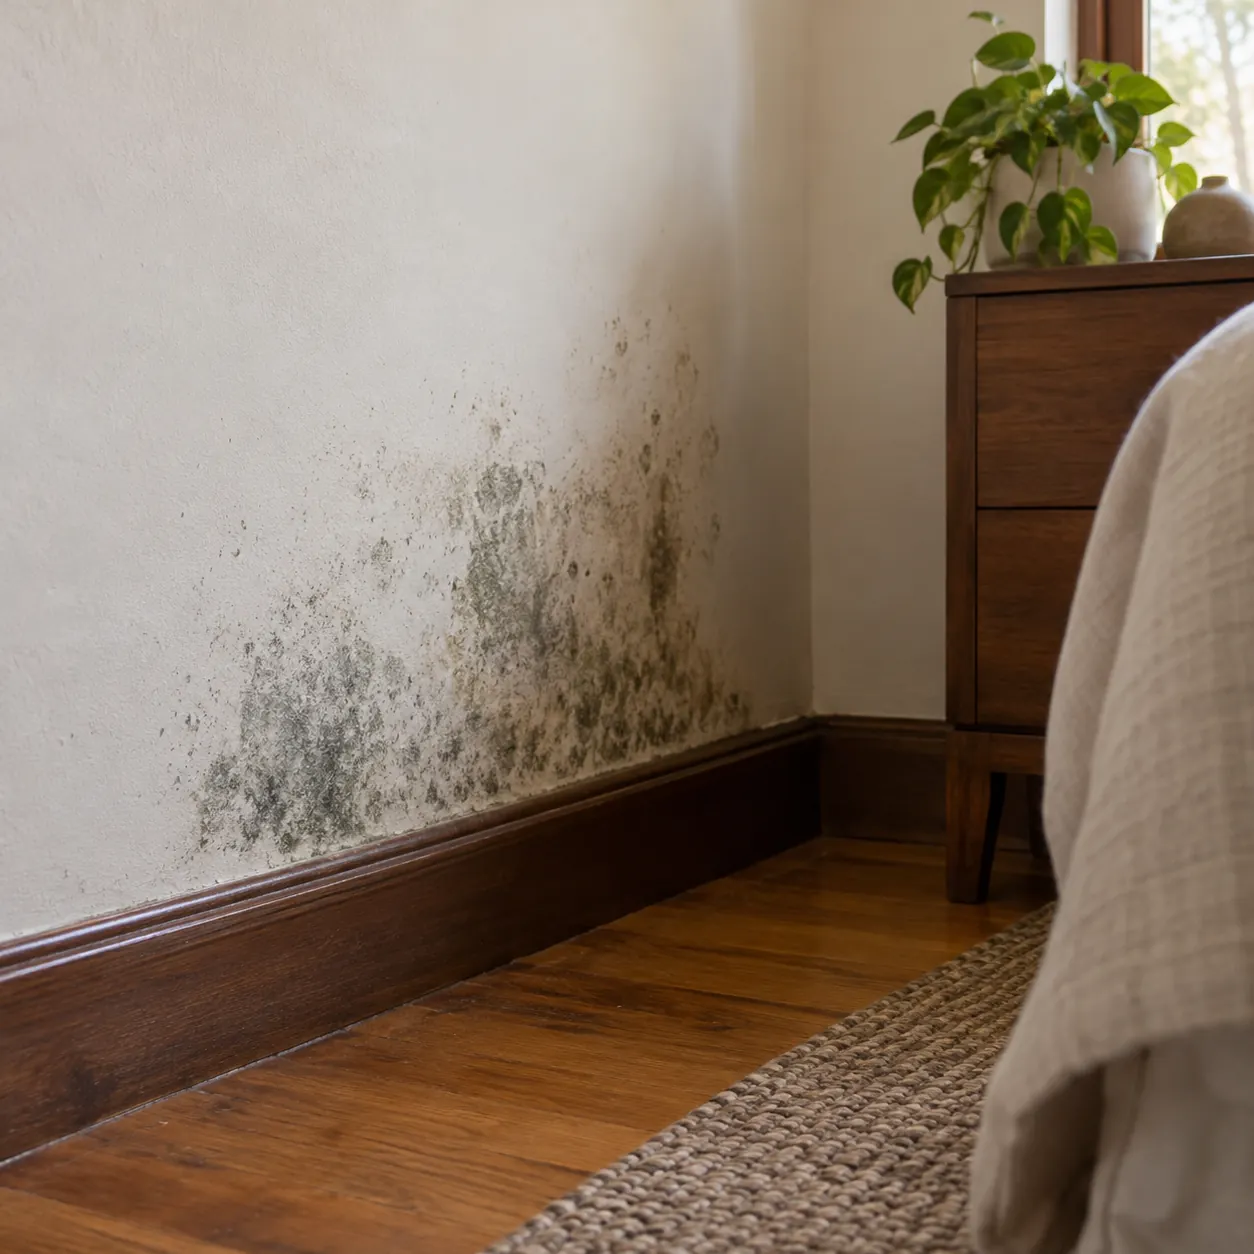
Wall junctions
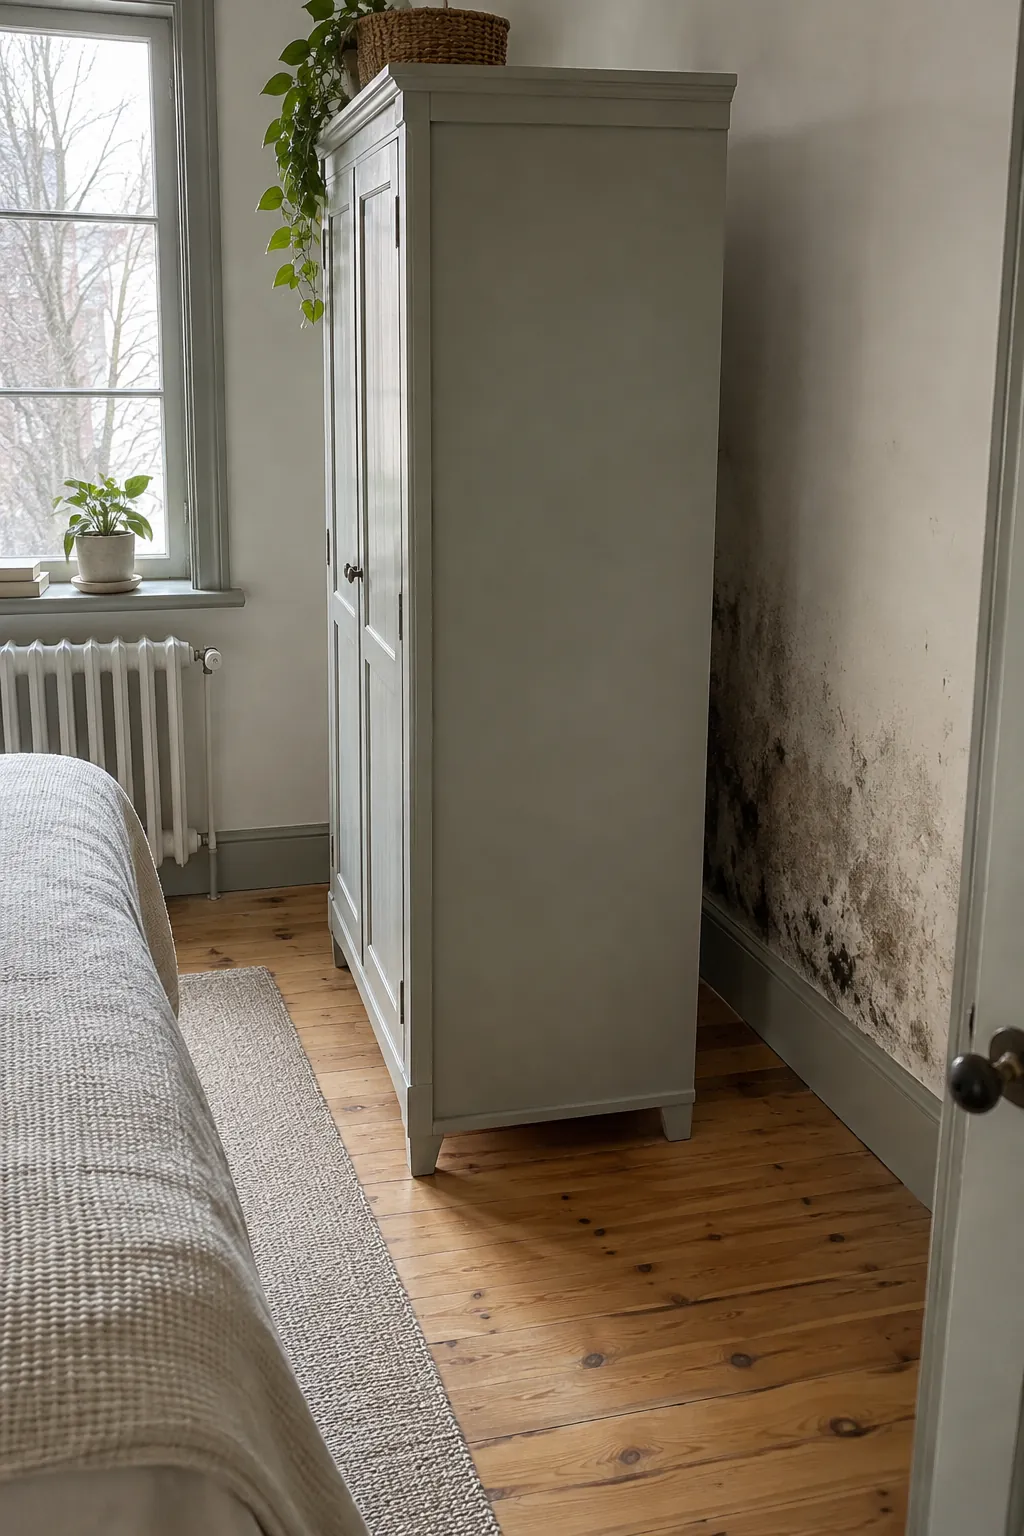
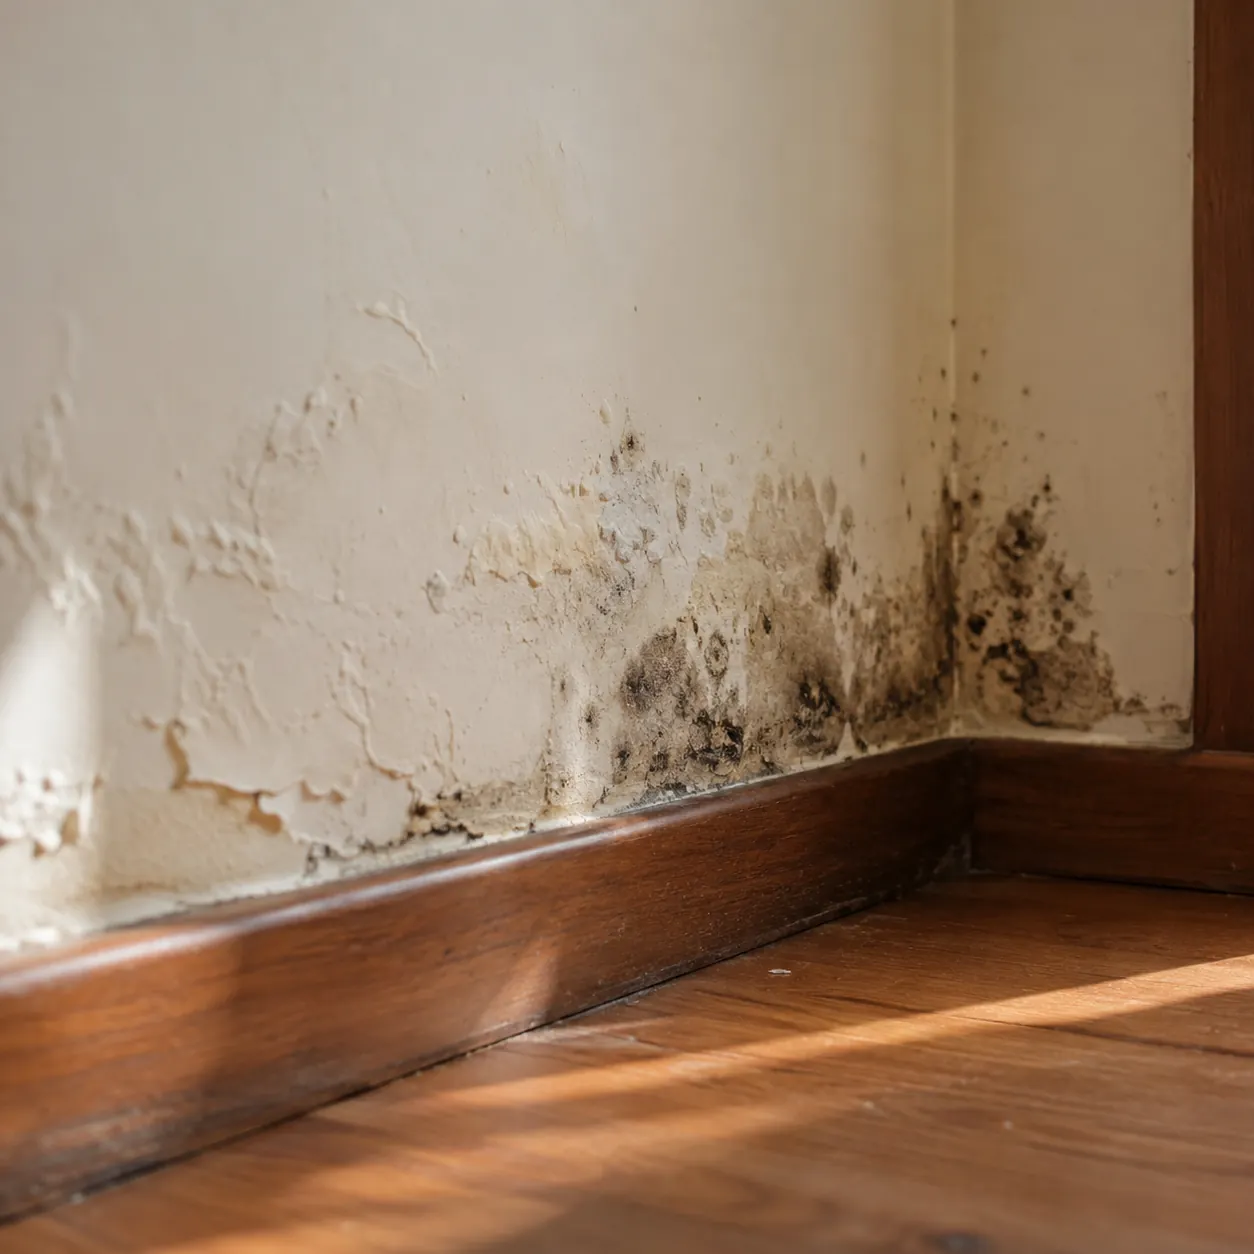
Note whether dampness has moved down a corner or affected paint beneath the ceiling.
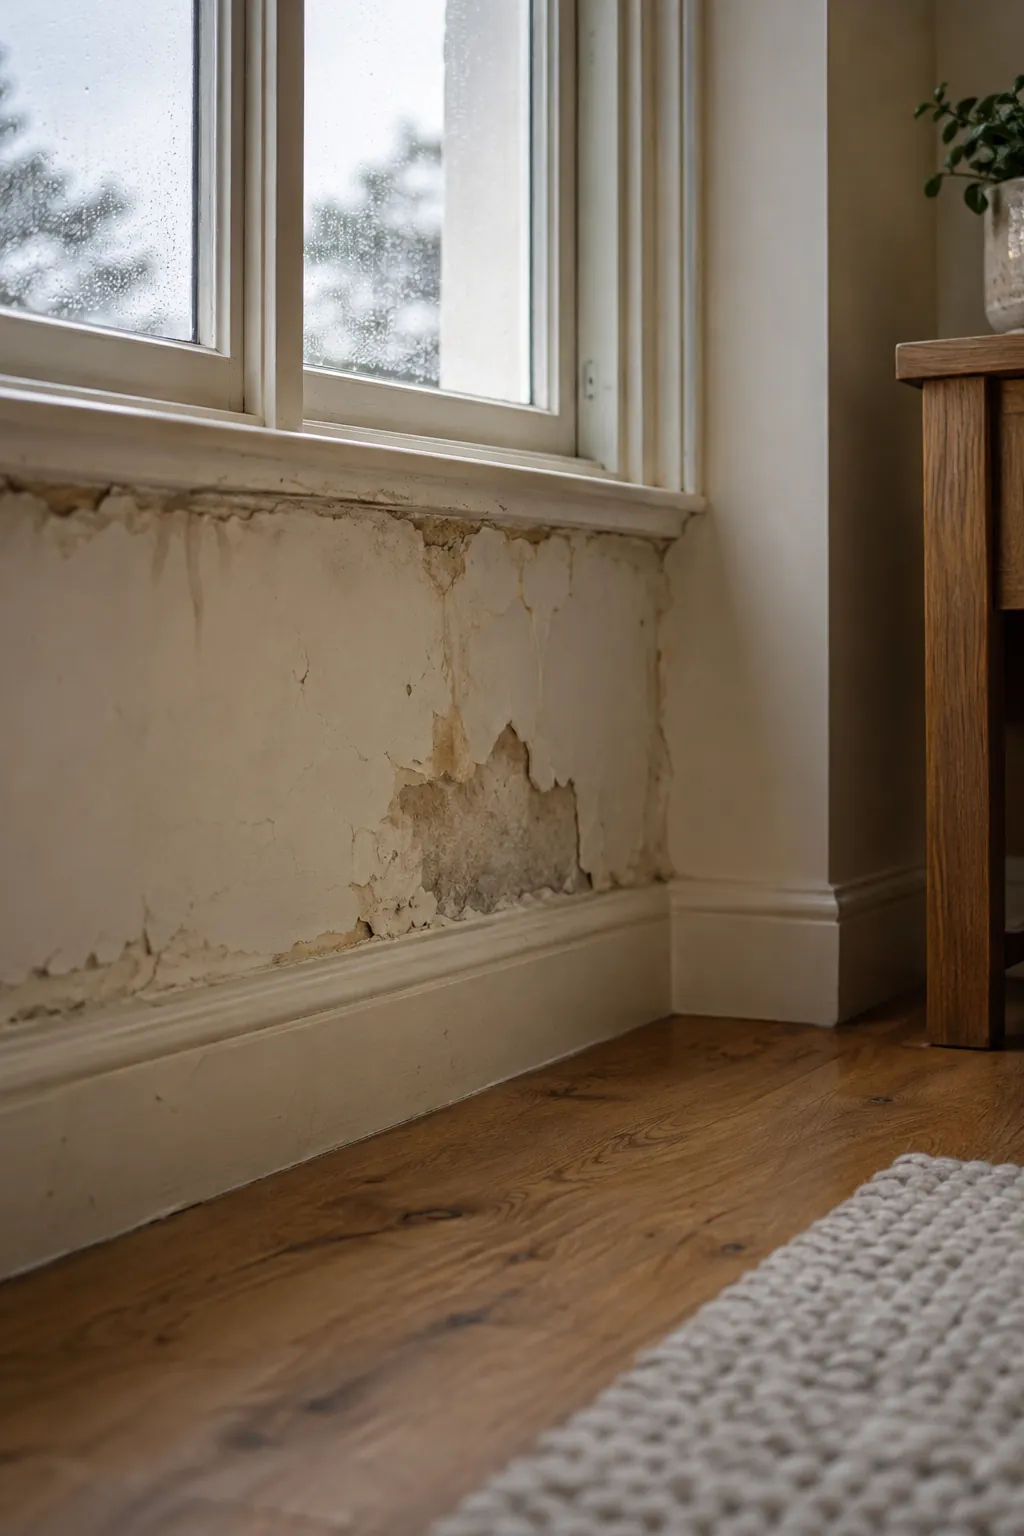
Damaged plaster
Bubbling, distortion and weakened material need discussion before cosmetic repairs cover the evidence.
PREVENTION STARTS WITH
Keep the repair
and the room connected.
Check the next relevant event
After source repairs, record what happens during subsequent rain without accessing unsafe areas. If staining expands, pass the new evidence to the repair trade. A photograph with a date gives a clearer account than saying the patch seems worse, particularly when several appointments have occurred.
Delay the cosmetic shortcut
Ask about the condition and drying of the material before repainting. Maintain the repair paperwork and any recommendations about board replacement. If growth returns, revisit the source and the room’s ventilation as appropriate; another decorative coat cannot resolve persistent dampness.
RESEARCH & NEARBY
Research and
connected enquiries.
Nearby guides include Eltham and Montmorency, covering different household assessment questions. When enquiring for a Research address, give the street, ceiling access and repair history so availability and the next step can be confirmed.
BEFORE YOU CALL
Questions after
a water repair.
Does a roof repair mean the ceiling is dry?
No. Drying and material condition need their own assessment. Explain the water event and any drying work, especially where board is soft, distorted or still changing.
Can the ceiling be painted before removal?
Do not use paint to conceal visible growth or uncertain dampness. Discuss source repairs, drying and the state of the finish before arranging cosmetic restoration.
Should I photograph the roof cavity?
Not by entering an unsafe or unfamiliar space. Floor-level room photographs and existing trade reports can support the enquiry; specialised access should be arranged appropriately.
What if staining grows during the next rain?
Record the change and contact the relevant repair trade. Accessible mould removal does not stop fresh water entry, so that source needs follow-up alongside surface decisions.
Is sagging plaster included in cleaning?
Describe it when calling. Deteriorated or unstable material may require separate building assessment or replacement; do not assume a removal visit will restore its strength.
Which repair information is useful?
Keep dates, the location of the original leak, work undertaken and any recommendations about drying or damaged board. Include photographs from before and after the repair.
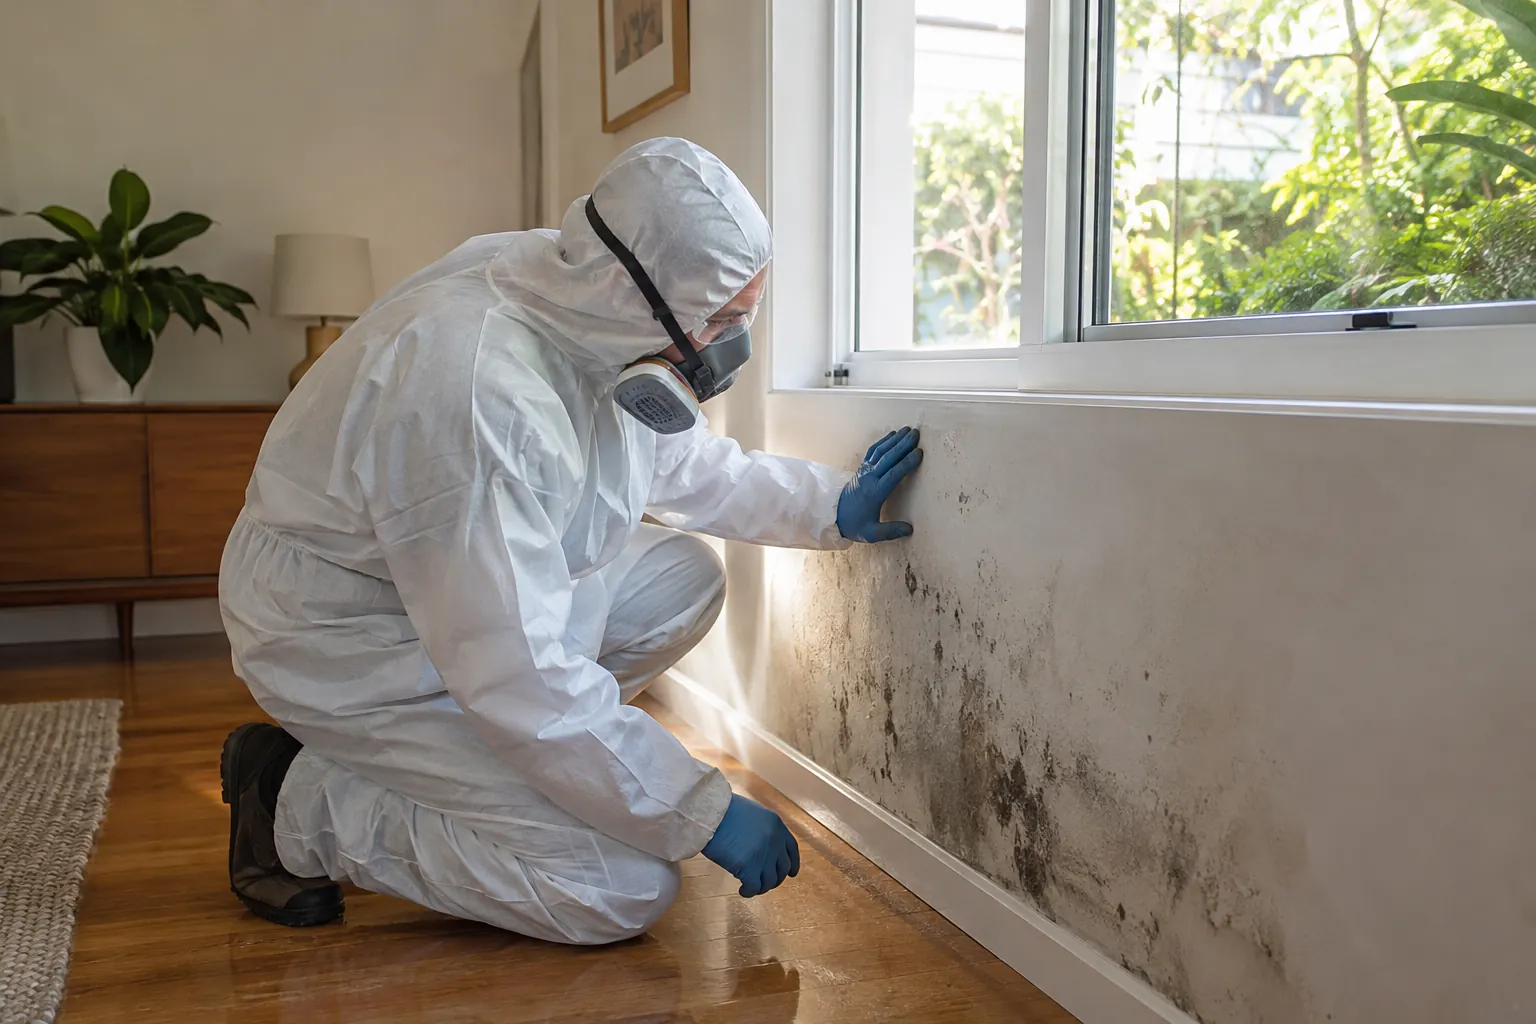
TELL US WHAT YOU CAN SEE
Explain what
changed after repair.
Call 03 8652 1296 with your Research address, ceiling photographs and repair history. Discuss the accessible surface and any unresolved moisture or material concerns before arranging work.
Local context: Nillumbik locality information